 |
| See kids, math is useful! |
 |
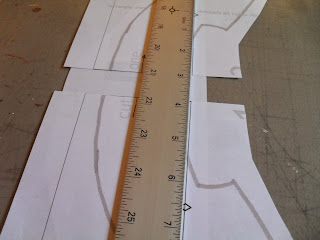
| Got them all taped together. Now I need to make the pieces longer. About ten inches longer. So I cut them both from side to side |
 |
| Layout newsprint under the cuts |
 |
| Line them up straight |
 |
| Check several times, tape one side down and then the other, and draw new line. Right over the crossword. |
 |
| Before we widen, let me adjust the facing. I added lines to make matching up the sides easier. For both of us, baby! My preferred back of neck distance is 6 1/2 inches. |
 |
| Making sure it's straight. Off a little I think. |
 |
| Measure twice, kid! Then tape it down. |
 |
| Now the back needs widening. By two inches. |
 |
| Check at other end, little piece of tape at the end. If I'd used blue tape, you'd have a better idea how little I mean. |
 |
| Okay! |
 |
| Check in the middle. See how warpy the paper is getting? A big flat space to do this in really helps here. |
 |
| And we're at 13 1/2 because I made it move there. |
 |
| I have folded the neck facing in half to match the pattern piece to check the measurement. |
 |
| I clipped the center fold of the facing to help get the right measurement, line it up on the fold line. Moved the diamond out half an inch. |
 |
| Pattern as marked. |
 |
| Checking the front facing to match. The + marks where it will go. I didn't have to adjust the front fold line; it's right where I want it, but I checked it now. |
 |
| And now they are ready to go! |
 |
| If I had used blue tape, this would be a sea of little blue squares. And some long strips as well. |


No comments:
Post a Comment
Thanks for reading! I love your comments, I love your ideas, I love your recipes, but if you post links to advertising, I will delete your comment.