Monday, June 29, 2015

Summer Dress Machine

So as much as I have work to do, and I AM doing the pattern testing and yes, I will get those curtains done.

I needed some more summer dresses.

I bought this great letter press fabric at SewExpo from Treasures of the Gypsy. And I wanted to wear it to work first day back at the magazine (oh irony, I love you so).

I just don't have enough of this stuff to make one continuous piece dress.

This is the fabric doubled up, cut and layered in the same direction
I could split it up into a skirt and a bodice, but where should I make the split? I can't match this pattern, but I can put part of it on the bias where it won't matter if it matches or not.

The pink pencil is where the bodice break will be. I'm just using my summer dress 'sloper' to line this up. I used the back piece for the bodice, and the front piece for the skirt - the only difference is the height of the neck line.


The pocket can  be upside down cause it hardly shows


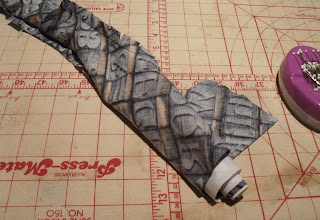
And rolled it up to use the burrito/Rooibos facing technique


It looks like it makes sense


Same issue: just not quite enough yardage, same technique.


The long triangle piece can be a pocket (the selvedge edge stabilizing the  long angled cut)


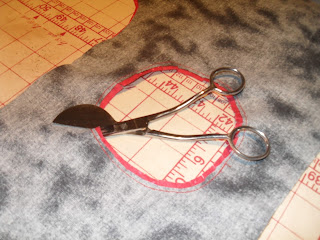
Measuring a pocket by using the pocket sizing tool (I have a spare)

Long edge is the selvedge
Yes, it's the licensed fabric. I had to follow someone around JoAnn's to get the rest of the bolt after she bought most of it.

  
The pockets lined up on the skirt

Cut two of lining to match for the facings


I angled the edge back in at the hem, which cups the bottom in at the hem when it's on

Look, a warm middle aged woman in a summer dress! Not the best angle, certainly not flattering, but you get the idea. I haven't done any FBA or darting, as I do not have need of it.  You certainly could use the horizontal line at the chest for any needed dart/FBA action.


This one I had more yardage to work with, so I could run the print all the way down

I've had this Badz Maru fabric for over twenty years. It was just waiting for this day

I'm going to talk later about how to make this pattern from a sloper, but if you just want to buy something that does the same job


D'oh!

Monday, June 22, 2015

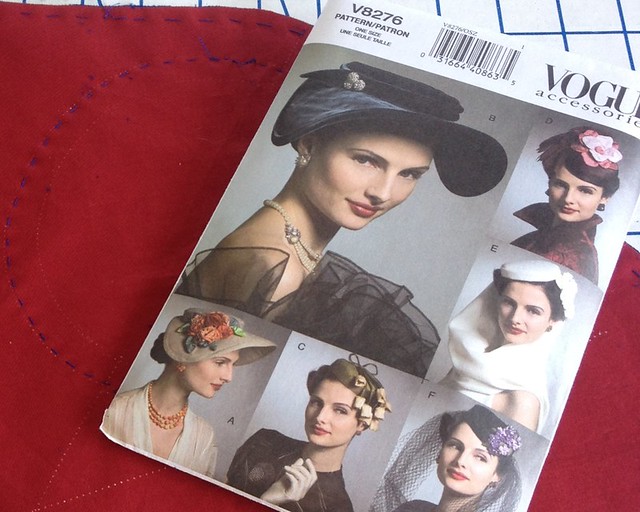
Vogue Retro Hats Continue


 Laura Mae has the most lovely 'stash buster I've ever seen at Lilacs and Lace
photo by Laura Mae


Meanwhile, Vogue 7464 continues to challenge folks at Black Tulip Sewing


The classic version at Dress Diaries


And I'm signing up for millinery classes with my pal Barbara


Saturday, June 13, 2015

Thinking about textiles and history

Follow my blog with Bloglovin

Because blogging does not pay the bills, I'm back at the summer job and posts will be when I can. 

There's been lots of sewing of summer dresses, and some photos of them on Instagram, just not lots of time to write about them. 

 Reads and Watches:


a screengrab of Unravel

by Meghna Gupta

"Maybe the water is too expensive to wash them"

Given how brown our Cascade and Olympic Mountain ranges are, perhaps it will be.


Wednesday, June 3, 2015

Burrito Roll Facing Trick

I am all about making shells to wear when it gets hot. And I weary of cutting and sewing facings. I like an all - in - one facing, and I like it cleanly done.
I also love a sewing trick.


I did not invent this, but I did want to illustrate it with more distinction between the inside/outside, facing/fashion fabric sides. 


I used a black fabric and a red fabric; it seems clearer which face is which, as if they were four distinct prints.

I've used it on a couple of things, but the fabrics have no real photographical right and wrong sides. The photos made no sense.

So I made a little model version.

This is photo heavy, and I repeat the technique on the second side, in case the first was not clear enough.

  You would first sew the front and the back pieces to each other at the shoulder seams, and then press them open. I skipped the shoulder seam part.  And any interfacing. Sorry.


Right sides together, sew the neck seam.


Grade and clip that seam.

This is where you'd understitch the neckline seam to the lining.
If you do that sort of thing.  I'd topstitch later.

Turn right side out

Roll up one side of the item towards the opposite armsceye

Rollin'

Flip one side of the shoulder piece....?  over your rolled part

Roll the other over, to make a tube

I flipped it over, matching up the seam edge

Make sure when you pin that seam that you aren't catching any of the rolled up part


Pin for the win!

Okay, my side seam on the left looks odd. It will match up later. Really. The point is to get the armsceye seam edge to match up right now.

Stitched down

Grade and clip the seam

And here is the act of faith: open it up at one end and pull it through.

The clips show where I'd put my pullin' fingers if I weren't taking this photo right now

Looks weird....

And it works. Dang!

Halfway there; we continue with the other side

Roll up

Flip rolled part to center

Fold over and line up, stitch, grade and clip the curves!

Open up an end

Commence pulling

Don't rip it

Just work it out

I left the clips where they started, to give you an idea of how confusing this could be. There used to be a section of the ACTs that used to test this mental skill. 


Now what I SHOULD have done was make the facing part a 1/8" smaller, so that when it was all lined up and turned out, the front fabric would be favored over the facing. This is something I never remember to do ahead of time, so I fake it with the ironing.

Sewing up the side seams; open up the armsceye seam so it's flattened to sew across, front to back in one seam.


Iron the side seam open

From here it's up to you. Topstitching or not.  I didn't make one part the facing and one part the front fabric (a bit of stunt sewing on my part), but clearly that works.

This wouldwork with a heavier fabric and a light lining.  It would not work with something stiff, or with a really narrow shoulder.  It is similar to the vest lining technique I used back in Plaidness, and the Yoke Burrito technique, as demonstrated by the lovely Peter Lappin on his blog Male Pattern Boldness. If you can turn a tube inside out, you can understand and do this, too.