Sunday, August 30, 2015

The Refashioners 2015, part one

or  #therefashioners2015

The idea being that a selected group of sewists will remake a man's shirt into something else and post about it on Instagram.

But I do this stuff all the time.

I had just finished this bomber style jacket from a linen shirt. 

I had a whole set of make photos THAT I ERASED after I loaded this to Instagram.


I had a beautiful shirt I was rebuilding for my son, until I ...unpicked the collar from the shirt.

Which only works if you haven't make a buttonhole in one end and you want to recut the collar. Or the collar isn't ridiculously long cause you're working an XXL into a M. 
Which doesn't really work. The armseye on an XXL is really long, and unless you are dropping to a S, the armseye is not going to work in your favor, the front will be too narrow. Unless you take the front off the collar stand and the yoke and move it up.

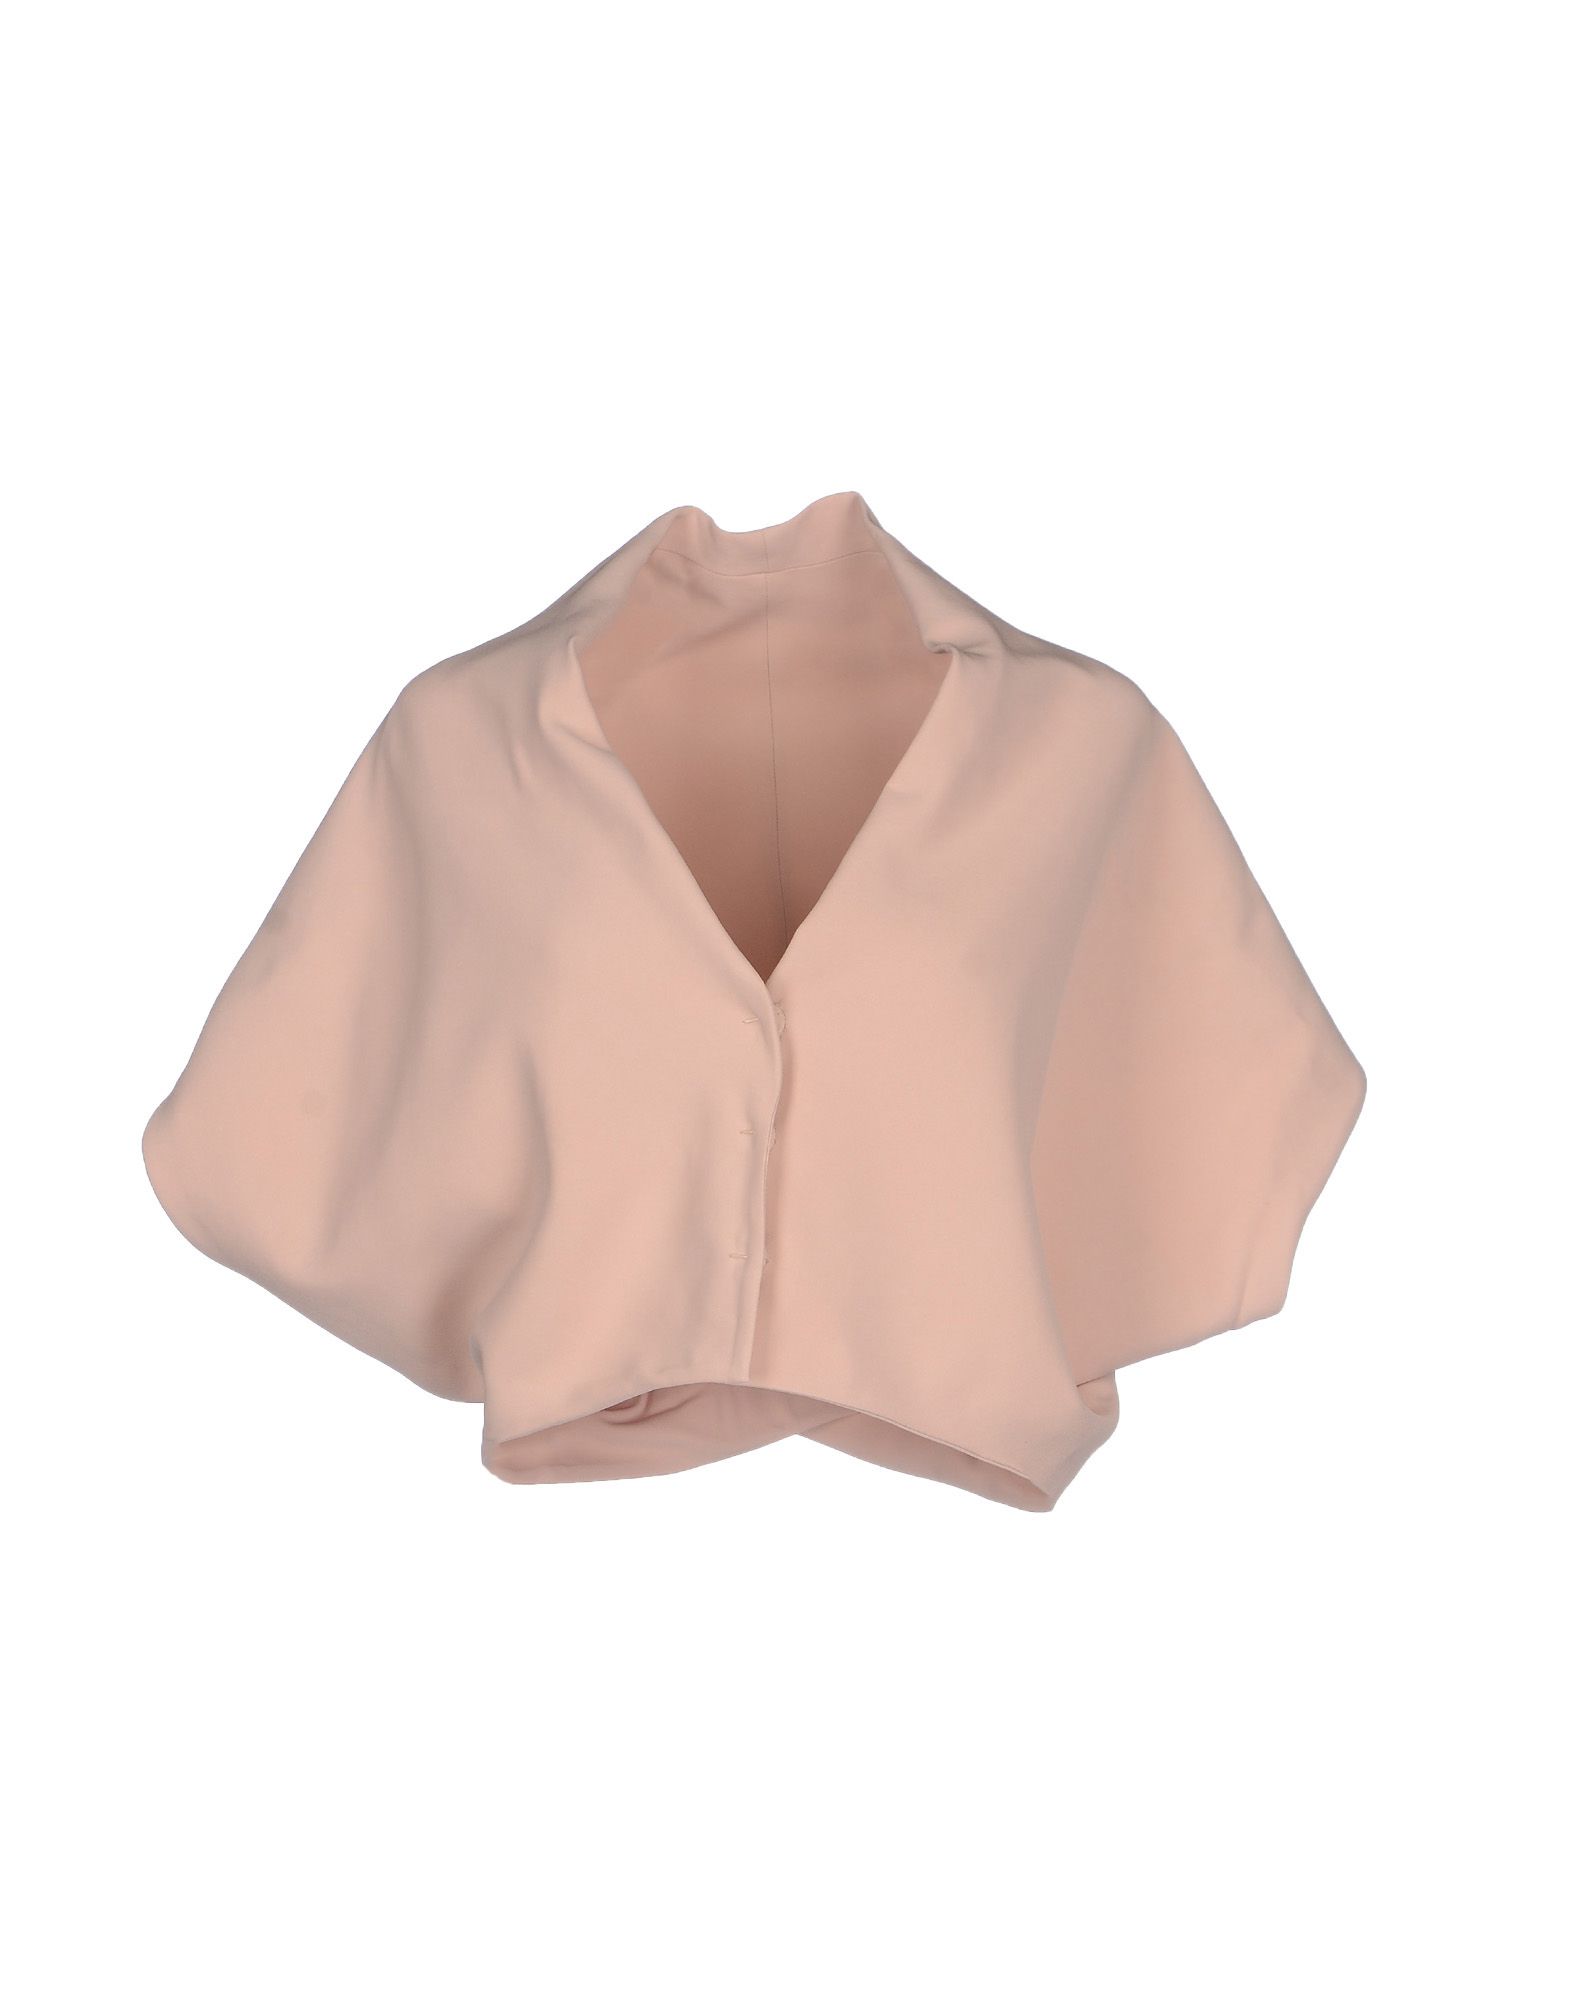
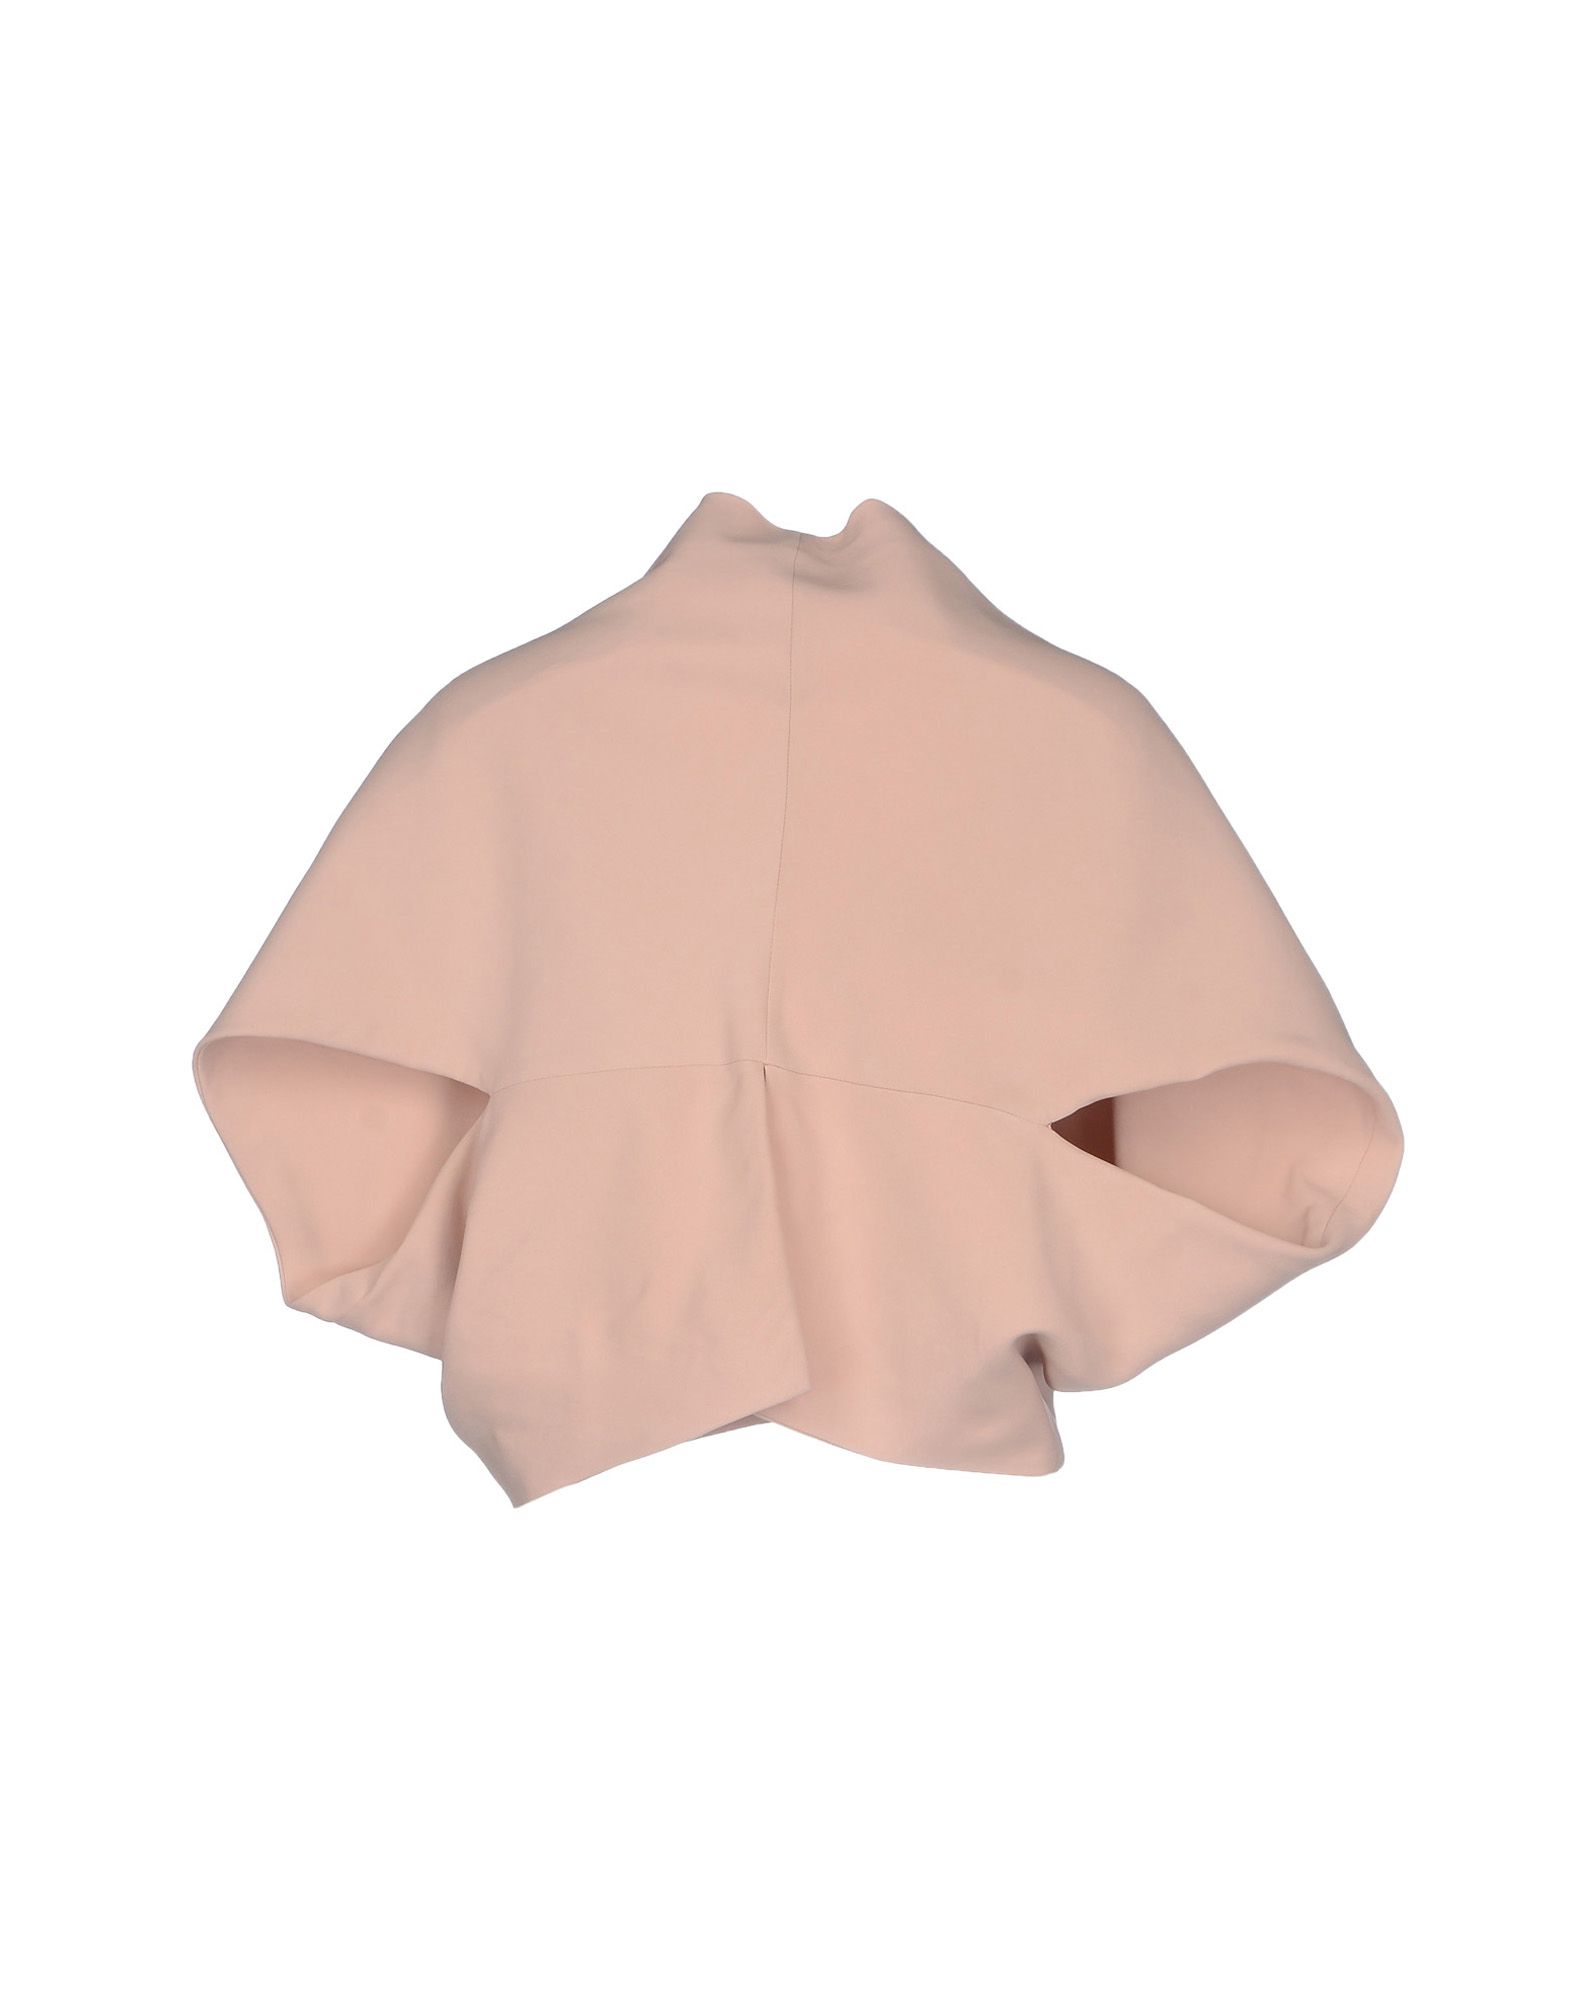
Which gives you this result.

I really hope my son isn't looking at this. He's going to have a fit that this is headed towards Wadderville.

It would work if you could keep the collar/placket together, and the shoulder/armseye in one piece.

If you did this.


I'm 16" across upper bust, shoulders


I cut a generous overlap (1 3/4") to allow for the usual mistakes

This is the most accurate color representation of the set. Two similar toned striped shirts.

Notched at the top to match up the seam. I sewed the vertical seams first


To get the horizontal seam  to line up, I pinned the end of the vertical seam on the outside

Then I flipped inside and started pinning the horizontal seam

 I gathered the horizontal seam. A little Alder, a little One Hour Dress

I did not machine sew to the corners, I can finish that with topstitching


Now both sides are gathered. 
Cuffs still need thinking, and it's almost dress length which is too long for what it needs to do. And it needs interior seam finishes. And ironing.

It does NOT need buttonholes or buttons, though. WIN!

And I have one other over the top shirt idea and not quite enough time. 

This can be done. I have the technology. And the shirts.


Sunday, August 23, 2015

Some ideas are always with us

Vogue 8721, now out of print

You and I have seen this design many times over the years, but sometimes it is nice to have a pattern already made up for you. Elizabeth Gillett's Vogue pattern can be repurposed to make this fine Vionnet 'blazer' (their wording, not mine).

Essentially, it is backwards. The back seam in the Vogue pattern is the front opening in the 'blazer'. In something drapey, it would be yummy.

I do wonder why Vionnet doesn't dig into the mother line more often. It does seem a bit skeevy to me to buy/use the name and not the ideas. Unless all you're doing is selling perfume and licensing.


I am hammering away on three shirts for the Refashioners 2015 challenge, in the audience participation department. Been putting up clips on Instagram, but not enough time to make a post today.

see the cross seams? Go for it, kids.

Sunday, August 16, 2015

Rusty Dalek Culottes Culotta Playola

French knickers!

I've been working on another culottes pattern. It's way too simple to sell, but I'm still poking at the instructions with a stick.

More skirt like in appearance than it appears below.


Made from two yards of Basic Cotton Ultra (washing report to come)  Dalek skirt section at Spoonflower. The panel is 26.95" high, good for me for a skirt


It's one pattern piece and a formula. This seems to be a habit with me.


This is as far as instructions go at this point. They are waiting for September to be tightened up and made better.


referred to as Haslam french knickers. Can't find original source but lots of repins on Pinterest


They were adapted from this and the skirt from the Barcelona Loes Hinse dress pattern 
(very similar to the skirt on the Tiramisu Cake dress)


And here modeled by yours truly also sporting the SewProjects  tshirt in the my grill pattern, also from Spoonflower.
The shirt was a test run of potential cut and sew pre patterned stuff. Apparently it is still just invitation only (this T was 30$, slightly less with  designer discount). 


I will be putting the pattern up on Craftsy sometime in September. It makes sense to make it a free pattern, as it just feels like it's assembled from so many parts.
I would wait for later to talk about this, but frankly, this was the easiest way to post fabric photos to link back to Spoonflower.


Saturday, August 15, 2015

Rectangle dress sewalong

I did a lovely photo session sewing the green model of this dress. 
I did a lovely job deleting it forever while editing the photos. I am making a finished version for myself, but out of black crepe rayon, not sewalong friendly material.


So here is the sewalong. In shortened, scale model form.

Copying the pattern piece drawing from the pattern instructions, and scaling it up so it's handle-able, is a great way to audition assembly of a tricky project.

Cut one of back on fold, cut two of front (on selvage)
 This might be a good place to discuss selvage. It's a fine, finished edge, but one that is prone to puckering when it shrinks. I do use mine in my sun dresses (I like to know what the name of the fabric was, and I am a novelty cotton gal), and I clip it when it misbehaves, but it's a cheat in the long run. Better removed and used as a seam stay tape in better clothing.

Which reminds me, when you make this up, it's a good idea to coverstitch or serge the front center edges now. If you're going to add side seam pockets, do the side edges now as well.

Mark front fold (you would not use a permanent marker)

Add stay tape along fold (flap side)

Sew down and iron over fold.

Mark gathers on front edge


Fold over to match marks

Pin
Iron down
Gathers folded down!

Topstitch 4" along fold edge.

Make up other side front

Match fronts together, right sides together

Match em up and sew em down!

Iron out flat, open up front seam and press. Don't iron the gathers out.

Right side view

Sew front to back (should have sewn facing first...oops)
 A mistake I can drive around, should have sewn back neck facing on first before shoulder seam. Oh well, iron out and spread out flat, right side up.

Facing! I can save this! Match up diamonds, pin and sew
 In a real dress, there would be interfacing under that back collar facing.
Flip over to wrong side up, clip seam to diamond (clip along curve, too).  Iron and topstitch along back neck.

Fold over this edge of the facing and hand stitch to front,  covering a multitude of facing sins right there. Ha!
On seam pocket decision time! Cut one the shape of your hand, line it up where your hand would hit an onseam pocket. I left them off the pattern because not everyone is as pockety as I am.
 There are plenty of online videos regarding pockets, this one remembers to top stitch the top (leading) edge of the flap (she also uses light colored fabric for better detail viewing, and I love her Northern accent!). Sandra Betzina's Power Sewing video series "Pocket Particulars" is full of great stuff, and is probably available at the library.

Pin on, right sides together

Sew, press open. Repeat for other side

Match up sides, right sides together. 

Sew down from sleeve opening mark, one inch allowance, down to top of pocket, then around pocket with 1/2 inch, then back on side seam at on inch allowance


Press open,  pocket facing front. Clip seam allowance on back side, NOT on the front like I did. Tack stitch to hold forward

Just a reminder NOT to clip the front seam allowance. Tack stitch where the pin is to hold the pocket open to the front.
It's so... pockety!
 If you didn't do a pocket, sew the ONE INCH side seam down from the sleeve opening mark (about ten inches from shoulder seam).
Iron open side seam.

I've folded the seam allowance over again to finish the sleeve opening. Iron, pin and stitch down.

You can continue the rolled seam down the side, or coverstitch the seam to finish. Or do both, rolling on back and coverstitching on front to compensate for that darn pocket, complicating things again!


Anchor stitch at the base of the v neck and the sleeve opening, to reinforce.


And that's what it looks like in muslin (shortened by half).
Yes, your results will vary!