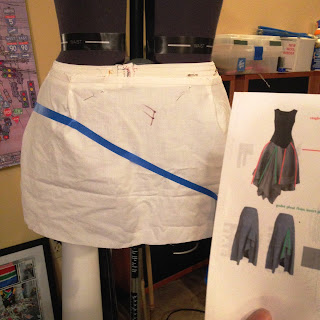
Yes, this all came out of the stash.
I already had enough of the Seattle Fabrics quilted nylon puff.
I had traced a pattern from a vest I wear all the time, and made an allowance for the thickness.
And now I'm just auditioning fabrics.
I love this cowboy print
I love this handpainted muslin more.
I had yards and yards for years; this is all I have left.
https://erniekdesigns.blogspot.com/2013/04/miyake-dress-1309.html
There was lots of trimming the fluff out of the seams, not the facing for it. Keeps it from pulling away from the seams as much as it will want to.
The collar is a elongated ellipse
And a super easy draft.
Cut out one piece on the bias (green is the grainline, red is the fold). One outside edge is the measure of the collar opening. plus overlaps for the snaps.
Fold it over on the red line.
You can draft that front curve from the curve of the neckline. Don't fuss over the back neck line, it will resolve itself.
It doesn't have to be precise (too long is better, you can trim it down to fit at the end).
And it flexes and snugs up to your neck; without a seam there, it doesn't chafe.
My neck is chafe free. It's my holiday wish for yours as well.
I add the pockets after the body, because I want the pocket to go where my hand wants to find it.
So I need to put the vest on to use my hand to determine that.
Here's where my pocket should be: where my hand hits the front expecting there to be a pocket.
Note that I marked where my lower wrist hits on the front with a safety pin.
And here's my diagram of how this pattern should work.
Those extra rectangles are the fat upper self-welt, that folds over to fill the gaping hole my hand goes into.
You can use the fashion fabric to cover that part, so it all matches, but I wanted the black slashy contrast, to work with the collar.
I have noticed I tend to forget what the pattern piece is supposed to do after I draft it. So I've taken to writing the instructions on the piece.
I can read it, that's good enough.
Tracing and correcting
Marking where the hole is going to be.
This piece of lining was scavenged from a miniskirt I thrifted for it's fabric. That fabric made into a hat, the zipper went in a purse, the hook into the stash, but the lining filtered down into the box.
And today, that skirt is all used up.
One pocket done before I thought to take photos.
Trust me, there's a pocket sewn on there. Not my best finish job, but my handsewing game needs work.
The red computer-drawn lines are where the stitching lines go. I don't stitch the ends of the rectangle shut, I don't need to.
Top stitch the hole before I flip the pocket in and sew that.
I blew through this, no time for photos.
It's really chilly in this house, and I needed this vest pronto.
I blew through the snap insertion part, too.
The best punch is still the one on the left, from Closet Case Patterns' Kelly anorak snap set kit.
The one on the far right is from Tandy, and it doesn't like fabric. The shorty in the middle is from the Dritz set I used, and it doesn't like anything.
2019 will improve my hand sewing and my photography.
There will be a bit more posted before we close this year out.
Unless I eat too much chocolate.
Or drink too many lattes.


