Thursday, December 24, 2020

Adjacent Ideas Collage Together: Serger Plus Vacuum Equals Profanity / Movie Theater Burns


Or, make a scrap wrapped wreath.

I have favorite tiny scraps of beloved fabrics that have no functional use.
I have a ton or two of preexisting decor in my sewing cave.
I could make a wreath, hang it in the cave, and move it up to the main rooms for the holidays. Which I may declare to last until I go back to my real job, if ever that happens.
And I was going to do this yesterday.

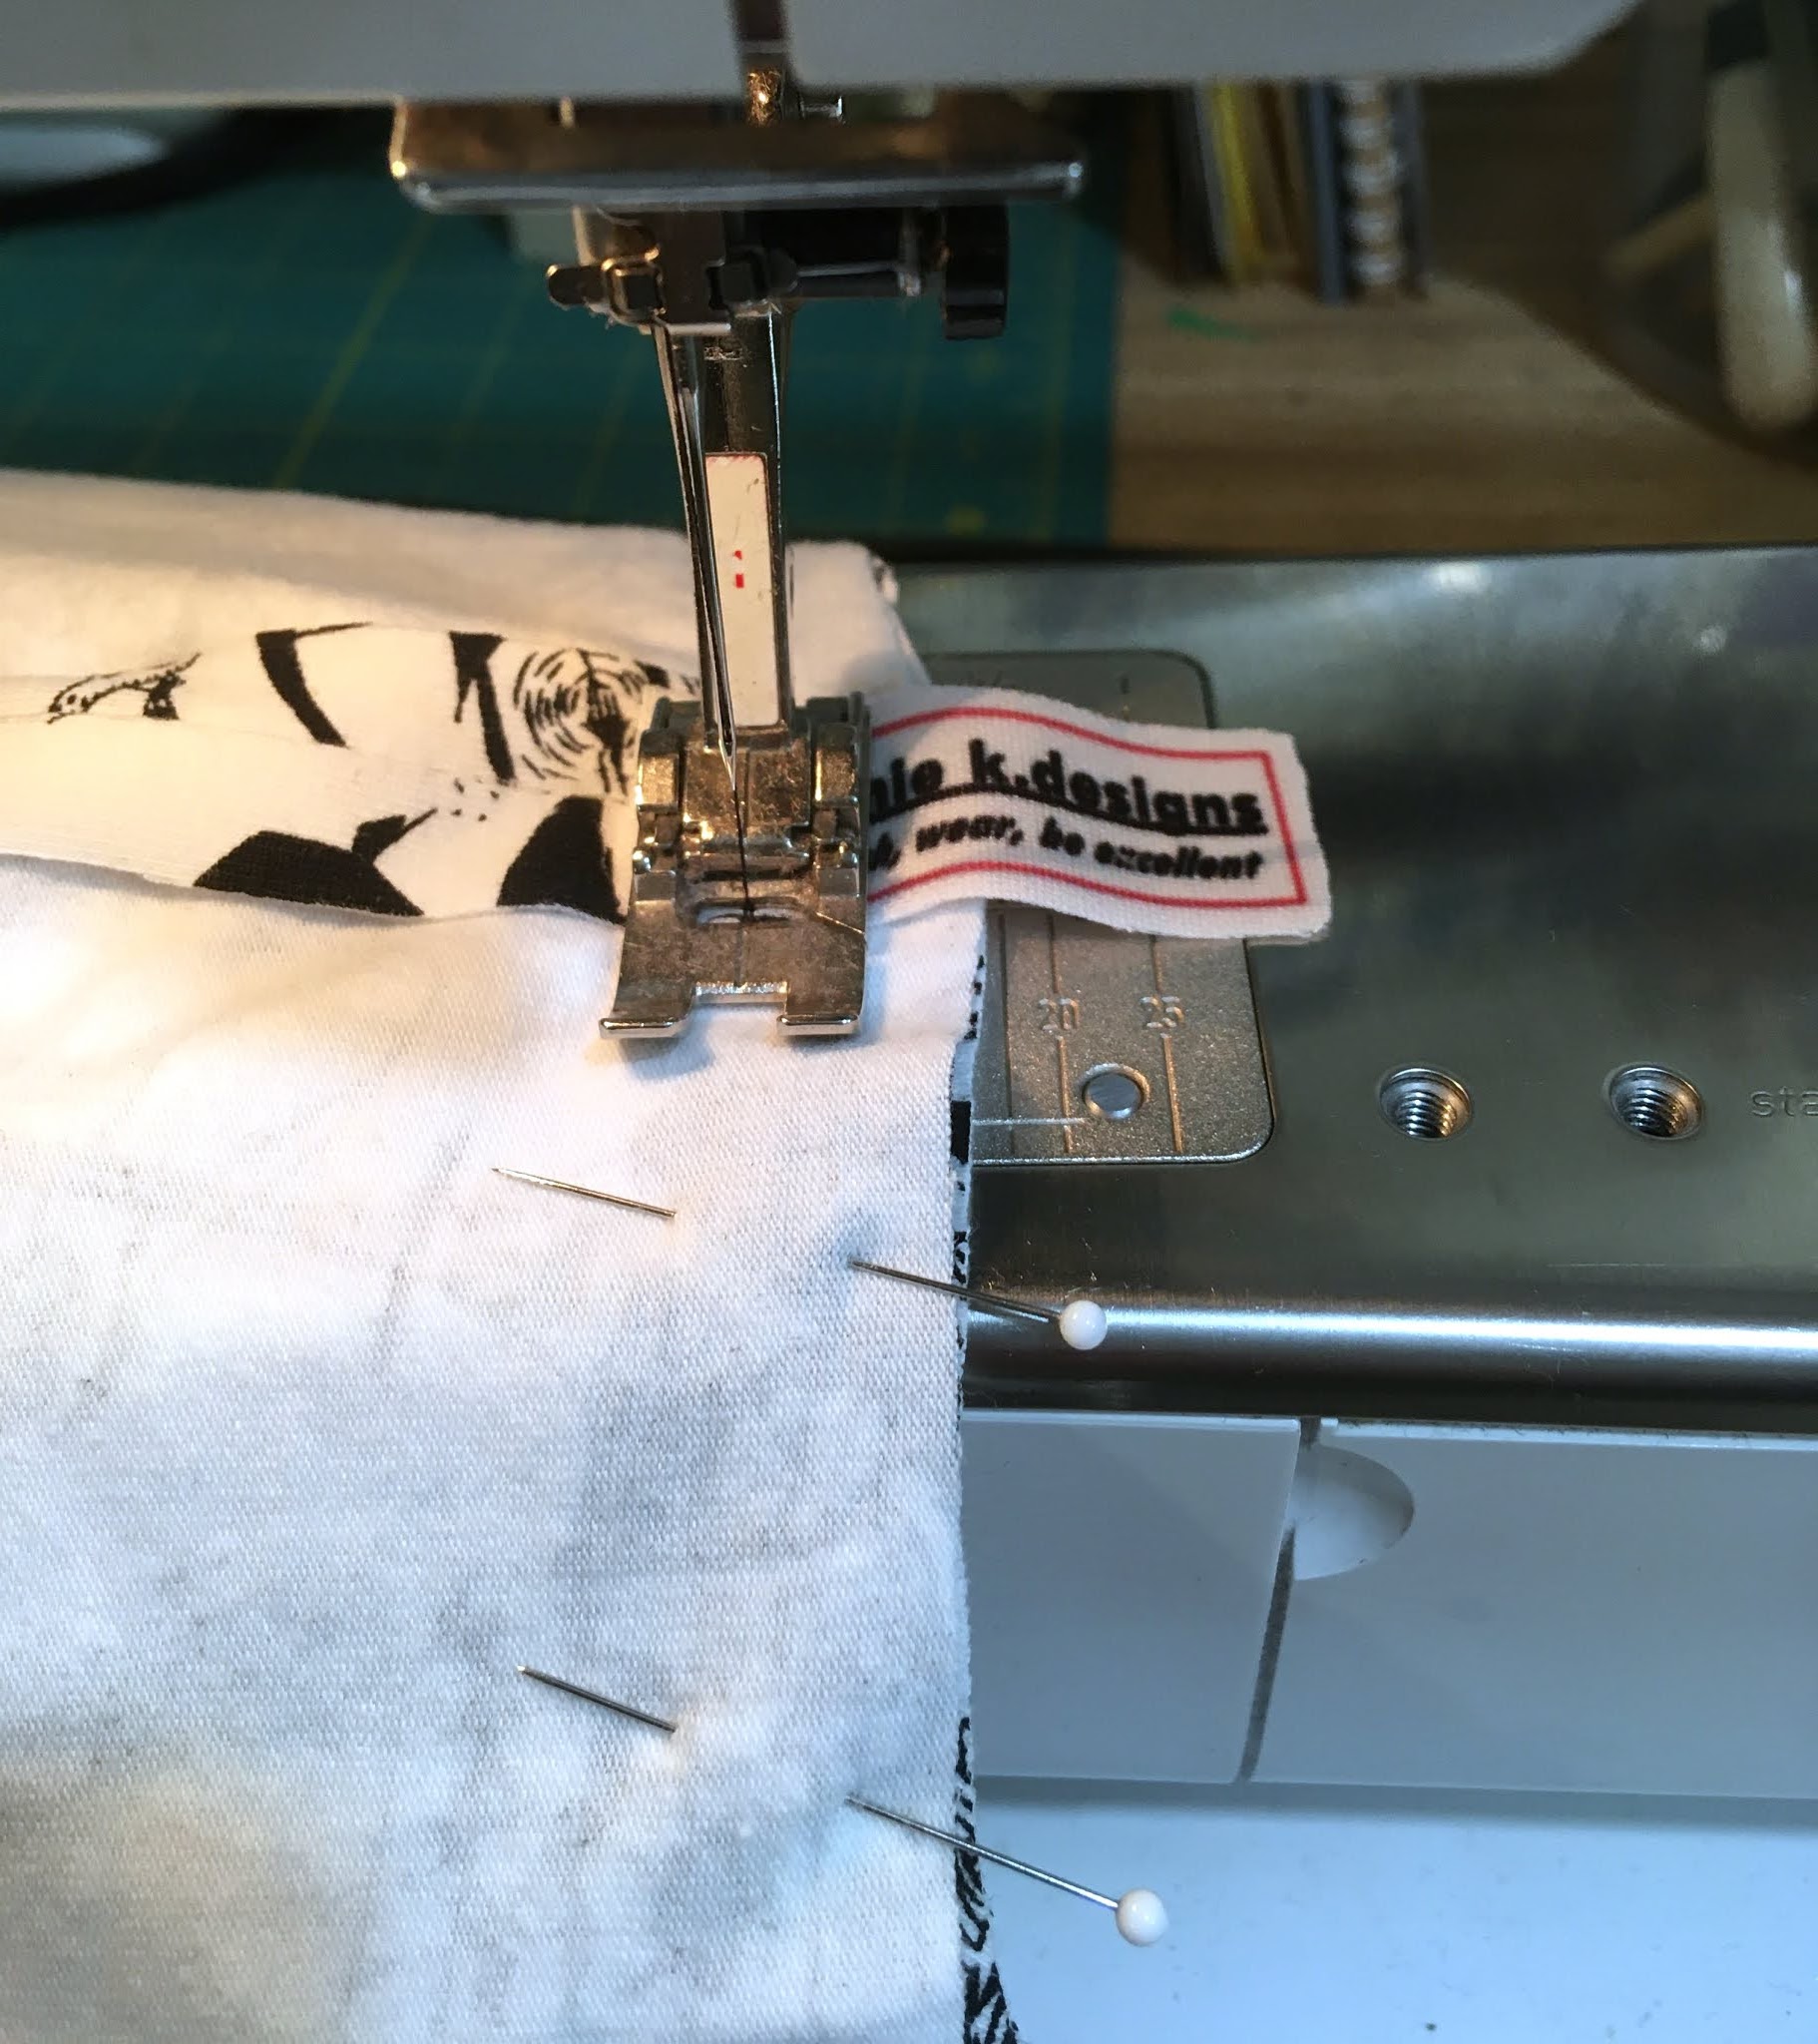
But this is what I really did for Christmas sewing


Sorry, there's no before photo. I never think to take photos of disasters. I was vacuuming the sewing room from the lint from one Christmas project, and put the nozzle near the serger base and caught the upper looper fuzzy nylon in the nozzle and yards and yards later undone and redone. Good lord what a mess.

Ebony Love, you saved Christmas.

https://lovebugstudios.com/serger-tips-using-your-overlock-machine/

Happy holidays. Photos of what got sewn next week.

Photo of today's real disaster:

The link below is quite possibly the most exhausting history on this theater, the north end of Seattle, movie theaters in Seattle, exhibition of movies in America, the Veterans of Foreign Wars, and much much more.

http://www.seattle.gov/Documents/Departments/Neighborhoods/HistoricPreservation/Landmarks/RelatedDocuments/DesRptSevenGables.pdf


Monday, December 21, 2020

Mask Click Bait


So I clicked on "Learn How"
and this is what I got

Nope. Nothing.


Sheesh. Let's try an outside search


https://www.cdc.gov/coronavirus/2019-ncov/prevent-getting-sick/how-to-make-cloth-face-covering.html

A sewn version

and a nonsewn one!


Keep staying safe kids.
I would love to go back to work in my lifetime.
And am I the only person making masks as presents?
(will add photo later, I promise)

HEY! Go read this
https://cloningcouture.com/2020/12/17/make-your-own-professional-pressing-tools/
All that felt on that buck made me swoon!
What the hell is this photo about?


Saturday, December 19, 2020

The Variator-ator


Pattern Grading with the Variator.


I can't decide if this is brilliant or insane. But go read it.
And then head over to:


who of course has much information on this topic.
Ms Fasanella has a somewhat more practical grading tool suggestion than this, but being a tool freak, I have to dive too deep here.

    
                        https://fashion-incubator.com/wp-content/uploads/2015/09/variator.jpg

Including the instructions.
Just go over there and read this.

Of course, should you want one:


This is a warning that next year, I am going to unveil my  pattern drafting tool purchases. Because I love a system.

Sunday, December 13, 2020

In praise of Sewing Workshop Videos; a better bodkin technique

I have had my issues with Sewing Workshop over the years, but damn if they aren't giving us goodness ago go on the interwebs

https://youtu.be/vGA6jZS7-Yw
This video is nominally about matching pattern motifs, and it is, but it's also just a really nice 'this is the process I used to get what I'm wearing' video.

But this is five minutes that could change my life
https://youtu.be/vGA6jZS7-Yw?t=987
(time marked to start)

https://sewingworkshop.com/shop/Ball-Point-Bodkin-p38176295

You sew the thing you're turning to the eye so it doesn't slip out along the way.


This video has a lot of good stuff in. Most of them do. You can put it on in the corner and stop and rewatch something when it strikes your fancy.  This one is just my jam, and does answer some pattern matching questions (mismatch on purpose, what point to match on the sleeve/body join, when to break the rules)
---------------------------------------------------------------
My term project is done. 
We'll be back with sewing next week.

Added:
at the start mark of this video, Linda Lee talks about her history with the Sewing Workshop, and their "first" pattern


Friday, December 4, 2020

Ear bud bag

The old ear buds had a tragic accident and sparked me when I used them, so they had a more tragic end.
Replacing them, I decided I should give them a safer form of transport than wadding them up in my coat pocket.
Of course I traced it. I'm making a pattern for it.
My goal is to keep the bundle from tying itself up. If I put a snap or a button in the middle of that wound-up cord, I should be in good shape to keep it from tangling.


Paper pattern made, pinned out

Making a square hole is easier to trim to the edge to turn it.
Sewed that square, cut it, turned it.

Turned it


This is the ugly half burrito. Yes, I had to turn it first, and then flip it back to stitch the sides and top seam. I know, I used a fabric without a visible right/wrong side, but this light nylon is what I had on hand to make this out of.

And after a quick light press (with a pressing cloth cause SINGE)

It worked.


I went back and snuck a piece of interfacing in the center section. Should have added piece of interfacing on center spot for other side of snap. Could have done this for the hole, but didn't need to as yet.
This is a test model, we'll see how this works out long term.

Snap one (centers in hole)
Snap Two, needs interfacing under it.

it gets some bias trim at the seam to cover and finish it.

Roll it up and stick it in.

Snap it shut


It's in there. As long as I put it in with the ear buds at the bottom of the pocket, I think it will be okay. It may not need to be a three fold, it might just as well be an open top pocket. Or maybe a zipper? 
I'm testing this out. I don't think I will need another one, and my fam are all wireless ear bud people.

Ya never know.

It's been working pretty well so far

Friday, November 27, 2020

Headphone Covers: Smaller Things Are Harder


While I was writing the earbud post, I realized I never wrote about the headphone covers. I think I put them up on IG, it was a super quick thing that held up a lot better than I expected it would. And they are still rocking, 8 months later. I never knew I needed leopard headphone covers; they always make me smile when I see them. They make other people smile, too. 

But how much stress do you put on the covers of your earphones? The original foam covers were getting shredded around the edges but not falling off. I did use the originals for a pattern, but they were so stretched out, they were little use.

The key is to cut that center hole a little smaller than the thing it's going around. The second is to test your zig zag stitch on a sample before you commit to the actual piece. You will blow a couple of these testing this out. It is just part of the process, forgive yourself now. If your fleece is precious, test it out with some that is not as important to you. 

You will cut out a lot of little circles. This part gets old fast.


The trick is to only pull them on your headphones once. If they aren't quite right, you have to cut another one to try again. There's not enough elastic in fleece to do this twice, unless you want to sew a tiny line of stitches to snug them up onto the headphones.

I mean, you could.  I'm just not that ..... handsewing-y.

I'm really not a fine finishes person. I can knuckle down and do it for friends or customers, but for my own use, not so much. While working on the Haptic Map Quilt is improving my needle threading skills, my stitches are still inconsistent. I keep buying new hand sewing needles thinking that will do the trick.

Uh no. Practice will. Boring dull practice. Which I make me do while watching movies Saturday nights. Yes, Svengoolie monster movie time is handsewing practice. 


Friday, November 20, 2020

TnTee #sewcialists mini challenge

All cut out and ready to get sewn a month ago. I just finished the last one yesterday.
Things got busy!

 I make a lot of tshirts off the same pattern. I traced it off a t shirt that fit me, and have refined it from there.
And I cut out a batch of them on one evening.
Trying to grain up the fabric and get the biggest leftover piece for the collar (upper left corner of fabric here), meant I cut the sleeves on the fold (bottoms folded up equally) and let the leftover space between them determine their length (at bottom of photo). I had to piece the collar, which didn't really show.

Cutting down an XXL shirt for myself, here estimating where the logo will go. 
I am short, and I love logo shirts, so I do a lot of this.

Another tshirt, this one in black bamboo, same layout as first shirt.

This shirt was not touched. Yes, we date back to when Excel was Microplan. That's Mr I Worked On The Manual. He does have magic Excel powers.

I picked the sleeves off to make sure I could get all of their width. Yes, that was boring, but it was worth it. That's what I do on Saturday nights while watching Svengoolie horror classics; unpick seams. Think this one was The Wolfman.

Not that long, but I did add a little at the cuff for width later. It fits just fine.

Another t, adding stay tape to the back neck and shoulders to all of them one by one.


Those old serger spools come in handy for tape. I had to cut it in half lengthwise. It wouldn't iron to this poly, I don't know what it's issue was.

Use a thousand pins to add the collar

Sewing the tag on wrong

Tag sewn on right (used white stay tape for this shirt)

All I sew with is a sewing machine, reduced the pressure on the presser foot, use a zig zag stitch, and I test the stitches before I start every time. Sometimes I use a ballpoint needle, sometimes a stretch needle, sometimes I forget and use whatever is in the machine.
But I always test.
And I always prewash.
And I try very very hard to get the fabric ongrain first.

Enjoy!