
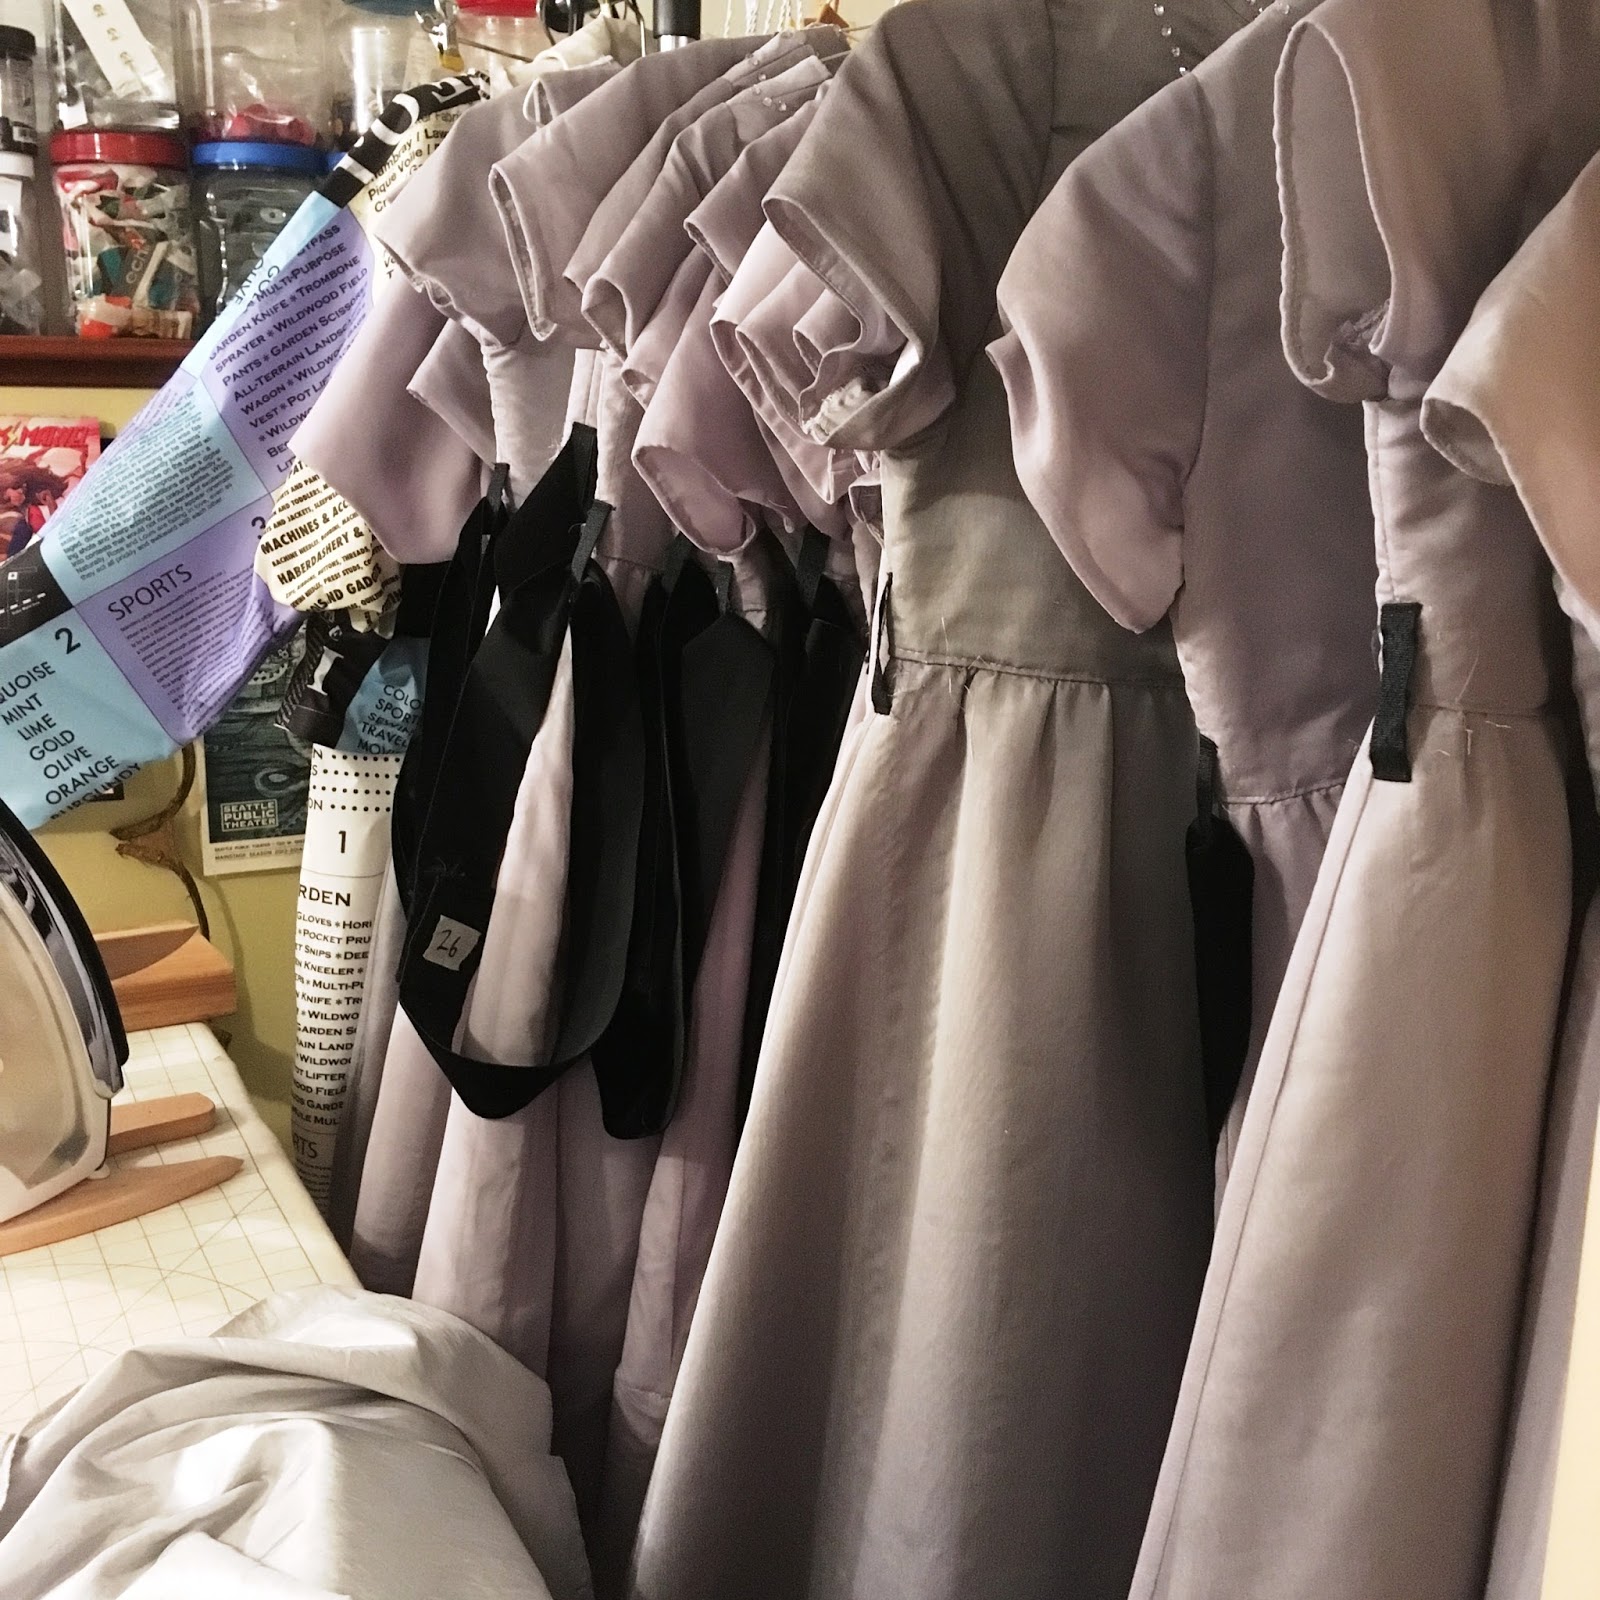
They're back. As much as I think I know them cold, I learn something new every year.
Note how the side seams flare out. They are double layered (taffeta with a chiffon overlayer) and the skirts are slightly flared on the side seams. Some more than others.

The tiniest hem on one of them. Literally just turning the serged edge over and sewing.

Not nearly enough. I take thread out. I put thread in.


Their nasty disposition has not changed. God, was I drunk when I did this last year?
No. It hung out for another year on the bias seam (to the right of the safety pin).
They keep sagging and growing. Seven, eight years of sagging.

I do alter those side seams as they come in. I straighten and even them out (the skirts were cut from different sized flats and mismatched when sewn together. There were 80 of them, so I can understand the mayhem potential).
Bias seams grow.
I'd like to thank the Understanding the Bias/tAming the Bias class I took on Pattern Review years ago for helping me understand how to deal with this.

The seams on the sides that are on the bias will stretch out with time because there's no strong warp thread holding them up (the grey rectangle area will remain the same length.
You can hang them out until they reach maximum growth, and then hem.
Ideally, you match the angle of bias (an incorrect term, but I'm kinda skimming the topic for the moment) to itself so it grows out evenly.
But let's say you're making a lot of dresses and you're doing it all on the flat. And let's say you miscounted the sizes you were cutting, so at the end, you're sewing different sizes together to get your quota.

A fair number of these dresses have skirt A and B sewn together, and are trimmed to the shorter hem.
The two different skirt sizes sewn together (and hemmed the same) will not have the same bias angle cut on the seams and will twist. The blue line on the right will twist more because it has a greater angle difference. And will never ever ever hang straight and make me curse and rue the day I took this job until I cut that seam open, recut the angle to attempt a match and try to true them up to each other. As big a pain as that can be, it has paid off over the years I've spent with them.

After I've cut and resewn, the inch in seam length difference isn't unusual. That's been fighting to drop, stuck against the other seam. It had to go somewhere. So yes, one side will grow more than the other, but it will happen anyway and when it's done, it will stay done.

I've been hanging these to get the chiffon layer even. Not effective on an adult flat hanger.

Using this child display half-front torso hanger has helped. As creepy as it is, it's effective. These are dresses for ten year old girls, who range in height but mostly are 24/25" around with narrow shoulders.

As for chiffon, the poly is easy to burn while I'm taking out last year's creases and putting in new ones.
Steam it up, and weigh it down to set it with the tailor board. Man, it took me a couple years to use this technique, and I cannot recommend it enough.

I hem them up, I let them down. Like the tide. An 5 or 8" hem is not unusual.

And then there's the new toy.
 |
| The line is actually red, but shows up pink in all these photos. |


So we have a new tool to add

A new alteration is to bring that right (wearer's left) shoulder and sleeve forward (this is the after photo)

I reduce the seam allowance on the back of the armsceye

And I widen it at the front
Which does turn that sleeve to the front
It's not enough to match her shoulder's inward curve, but it is as much as I can carve out of the present seam allowances to allow it to be altered BACK at the end of the season.
Because we'll be reusing these dresses again next year I'm sure.
Unless we really aren't. No promises.
I'm 34 in, 13 to go. A little behind my own deadline, but well in front of the official one. This does not even touch the new iron (wore out the steam button on the old one) or the usual back to school hubbub. Someone may be an Eagle Scout this time next week. But why not run that down to the wire?
Isn't that what we do here?
And pardon me, but HALLOWEEN!!!!!!!
The first autumn not sewing costumes for anyone.
(cue the sad trombone).


