Showing posts with label purse. Show all posts

Sunday, May 1, 2022

(not at all) Magic Bag of Tricks part three

 Just imagine every other word is a profanity. Pick whichever ones you like.

I tried to start on one side, and work my way around.
I like a profanity with a bilabial fricative, myself.

Blue tape worked better than clips (which slid) and is easily removed and reapplied.
Endlessly.

Because this keeps not wanting to sit in the frame.
"HOLY MOTHER OF PEARL" is the most family friendly one I used here.

It keeps popping out.

SO MANY BAD WORDS RIGHT HERE

Tacky Glue will dry. It will get tacky in less than a year, and it does dry reasonably clear. I can also trim off the excess, if I give a damn about that by the end of this
(and eventually I will)

It is supposed to fit. The pattern and the frame go together. The toile worked.
This ..... is not working.

The toile was in a woven fabric. You cannot overestimate how much squish/stretch/flex you get with a woven, even an upholstery weight. This one will just NOT.

This is a reverse angle trying to use the camera to see if the corner is sitting in the frame or not.
It's... mostly in there? I don't dare pick it up to turn it over to see (working from the lining inside).


I'm going to put glue on string to fill out the gap between the fabric and the frame, and secure the bond (so the bag doesn't drop off the frame)

I know, the glue should go in, and then the string. And on this part, that's what I did.
Remember, every other word is a bad word.
This was a naughty project.
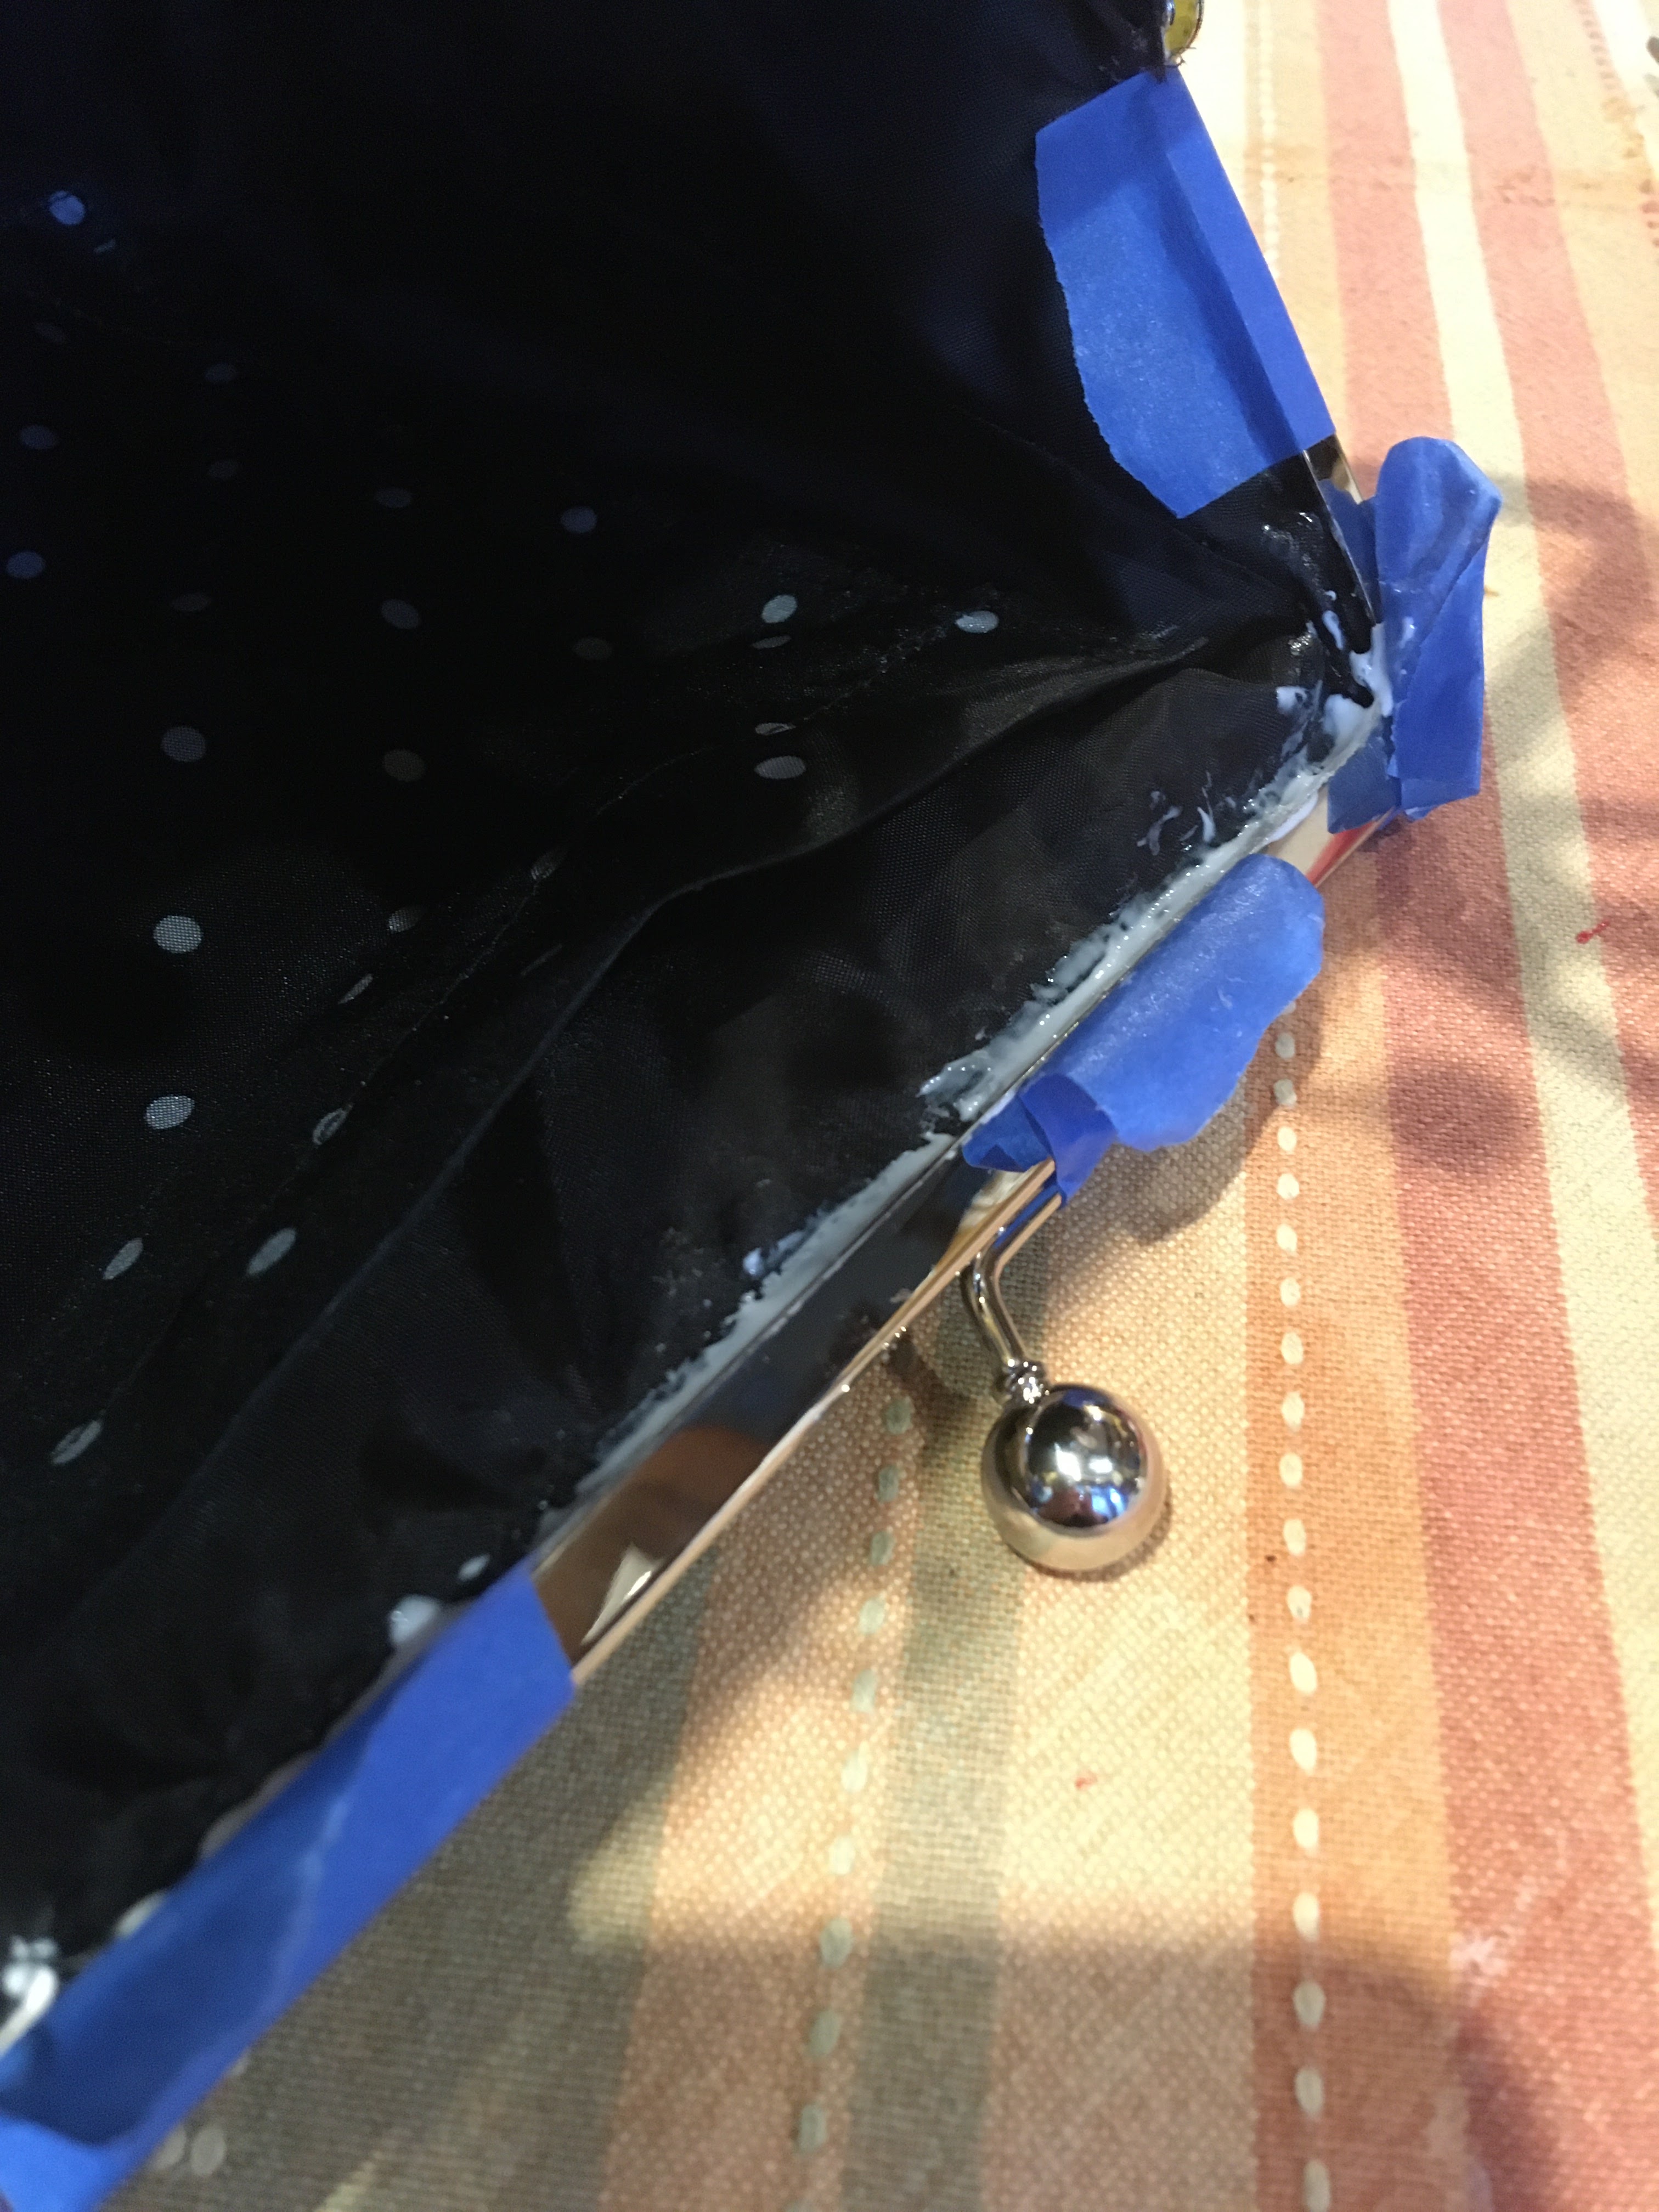
At this point, glue is everywhere (some of those spots are polka dots, some are NOT) and I have ceased to care. I just want to finish it so it's done and I can stop pretending to finish it.

So much profanity.
So Much Glue


I got glue on all my fingers.


Getting a store bought handle. don't even ask about the one I made for it.
this is just so not my jam....well, I had to add hardware and rivets (which is ME), but still so not my jam.

Should not have trimmed the end (you can see the wadding if you look in). didn't trim the other.

Getting rings to go on rings is easier with a pair of narrow needlenose plyers. They don't have to be great, but they do need small noses.


This is it's senior year book photo. Color adjusted. Vignette. 

And now I am so done with this. I will clean up the glue on the other side some other time. But now I am FREE and I do feel much better about it.
If I only carried a purse, this would be it.

Sunday, April 3, 2022

Pen Pouch Toile Purse: Not my best work by far

It's goofing off time.
(well, I finished the shirt and another couple knit shirts and am stalling on the next shirt cause I don't like my present pattern and need a new one to make too many of)

 I am going to make myself a couple of the Ikat Bag pen cases, 
http://www.ikatbag.com/2013/10/marker-pouch.html
but I had to goof around with this idea first. 
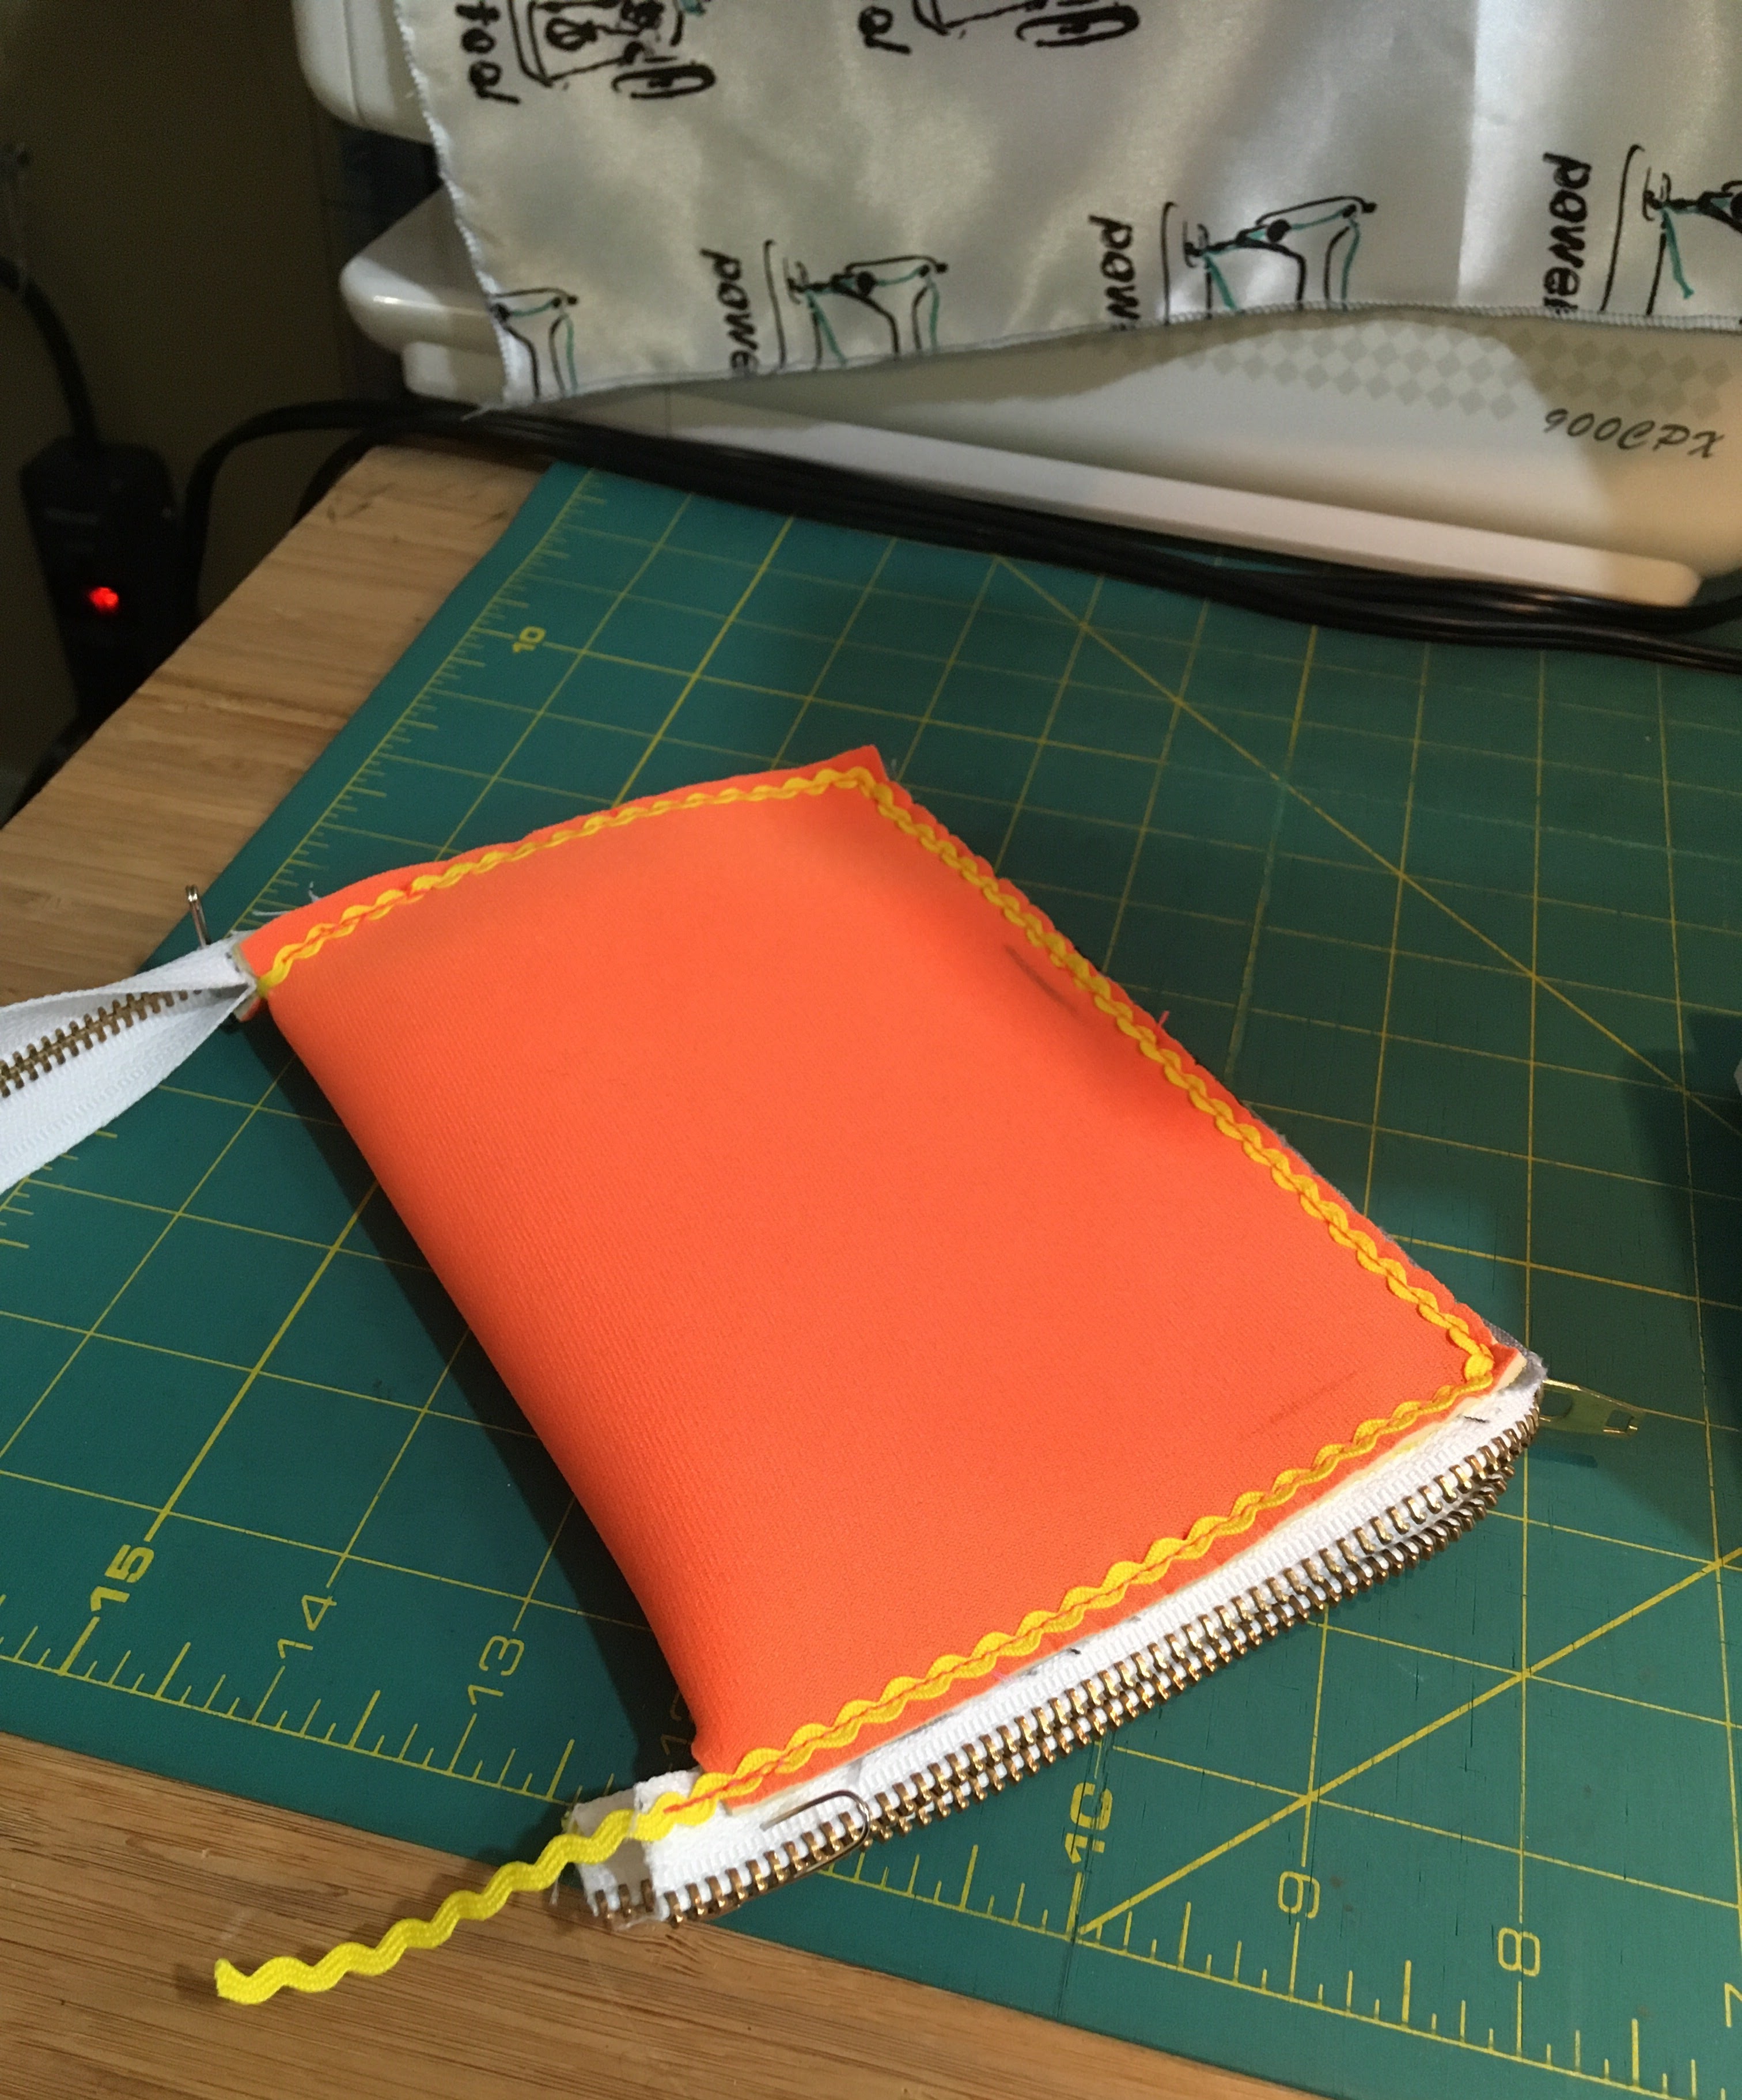
I hand basted this first, to get the zipper placed correctly. Yes, I had to break out the pliers to pull the needle through.
And I used a metal zip because I have a lot of metal zip 

Scuba or it's pals needs something to anchor the stitching on the outsides, so I have made a sandwich of the zipper, the scuba, and some rick rack because I love rick rack.

and if you used a coil zipper in an loop, it would work*. Also if you made the fabric part have a little dish shape to it (do a little cornerfold/gather at the  corners) it would be the useful tray I need to wrangle my pens and put them away at the end of the day.


Hello!


It needs tabs at the zip ends (the safety pins would be temporary)  and some shaping to make it more tray and less landing pad (which has its charms)

this style does not work with this zipper (metal zip is too stiff). But I am keeping it anyway as a sample i can refer back to.

(* I cannot find a tutorial on the interwebs of how this works. I'm....shocked. I also can't find an example of this on anything anymore. Did we fall out of love with this application? Do I have to make one to see WHY we don't do this anymore?

Oh dear, I fear that I do)

And I am revisiting this 

which I will talk about later, except to say
the glue on the seams is still not dry, two years later
EEEEEEEEK


Sunday, November 8, 2015

Side Kick Sprout Patterns

So I ordered this.


And about a week later, this came.


The layout is exactly as it was shown on the webpage. Dayum! I could like this 21st century!


All the pieces are labeled, and the legend in the center advises cutting them out with the labels, and pinning the labels to the pieces as you continue. You will be happy you did that.

There are no notches to line up the pieces, but they are so square you don't really need that.


What I do need is an interior zipper pocket. This is more of a tote than a functioning handbag, and I have made this fella before in a workshop I ran. And I likes me some pockets!

So I added the zipper in the interior piece first.

There was some sewing. I followed the other directions. Imagine that. This is a very straightforward build, and the ecocanvas I used (imagine Sunbrella fabric that is softer and can take a print like a photograph....) doesn't need interfacing except at the snap. It does unravel like a demon if you work it too much.
Then I remembered I needed a place to hold my coffee upright inside the bag. Made one out of the endless brown nylon taffeta supply.

You know, when you have about ten yards of a tool fabric, like white cotton or sew in interfacing or the blanket stuff from a moving van. It goes in everything somehow. 

Cup holder sewn

Cup holder pinned into seam

Turning the whole thing from the inside out

That awkward midway bit. Kinda like childbirth.

oh yes, I did go there


All Pulled Through, will need to get the insides shoved in

There's lot of tacking stuff down at this point, but the part that I had the most trouble with this time was the grommets. They just would not snap. The sample snapped just fine (so fine it would not come apart, my first clue something was ....fiddly).

I broke a couple. I had to use the clamps to wedge them shut, sorta smooshing them together slowly, tightening one clamp at a time.


Now I'm stuck on a point that I had forgotten about from previous experiences with this pattern.

I think that webbing straps look overwhelmed by the bag and the grommets. I want something plushier. And now I have backed myself into a fabric corner because I DON"T have about three or four inches by 36 or so to make a matching strap.

I only have leftovers because I changed up the interior lining pockets in favor of the interior zipped one.
And they ain't big enough to make a shoulder strap.

I have more of this print, from another order. I won't need a whole yard of the other stuff (which is not the same fabric, just the same print), and I'm going to carve off enough to make a different strap.

I saw this ad for the Celine bag today, and I love the shape/contrast of the strap. So I'm going to piece one from my other yardage, scaled to overfit the 1" grommets.
Well, I'm going to after I deliver the choir dresses. 

(the ship hat and the armed leg for Parlor Tricks ate up last week)
(yeah, they will get a post sometime)
The printing time varies, the closer to the holidays the nuttier it gets, but one thing Spoonflower does incredibly well is customer service and support. Their shipping info is accurate, they always give you tracking numbers, and they really do back up their products. I have had problems with ongrain printing and they have always reprinted for me, often overnighting the new print.

It's not perfect, it's not cheap, but for you and me, folks who just want to make something completely their own, it's damn fine.


Tuesday, April 8, 2014

Purse Pen Pocket (hinge pocket)

Nestled in the corner, another pocket. Or is it lurking?

Yes, I have a pocket problem 
(took me a minute to type 'prob//, no, it's not a problem! It's a series of tutorials! Yeah!)

I got tired of hunting in the bottom of the purse for a pencil, a pen, a pointy thing. And I just couldn't figure out where to add one.

Until I pulled out the lining mending the zipper.

So, make a long pouch (make it wider than one pen. I went for three inches wide, folded over to an inch and a half / 5 cm.

Stitch up the bottom and the open side. 
Find that long seam in the lining, and fold it out so it's an edge.


Sew your pouch edge to that edge. I didn't even take out the content tag.


I tacked the lining down when I was done. I swear, most of my stuff is better sewn when I'm done with it. I'm like my dad; I'm a remodeler.

I am thinking this is going to show up again somewhere else. A hinge pocket could be great, could be a big pain, we'll see where it lands.