Monday, December 30, 2013

Bikeaclava!


This is the 'oh good lord, it could be a good idea if it wasn't so much like a bald cap' first version of my son's bike balaclava, or Bikeaclava.

We've had a nasty cold snap in Seattle this last month (low20's F) which is, I am sure, a good hearty laugh for many of you. And a beanie just won't fit under the helmet and keep it properly fit.

If you have ever launched over your handlebars, this will mean a lot more to you.

I am also sure many of you like to keep your ears when you bike to school, or work, and if you are my son, your bike ride will not be denied.


The straps hold down the double layer ear flaps, the double layer should follow the curve of the helmet (if you draw on the base part while the model is cringing, you'd get a better match).


The base is a single layer of something thin and stretchy. In the case of the final version, a lycra knit. The flat fold goes in the back, the seam goes over the top of the head. 


The sidewalls are cut with the fold in the front, here in a rubbery windstopper fleece.


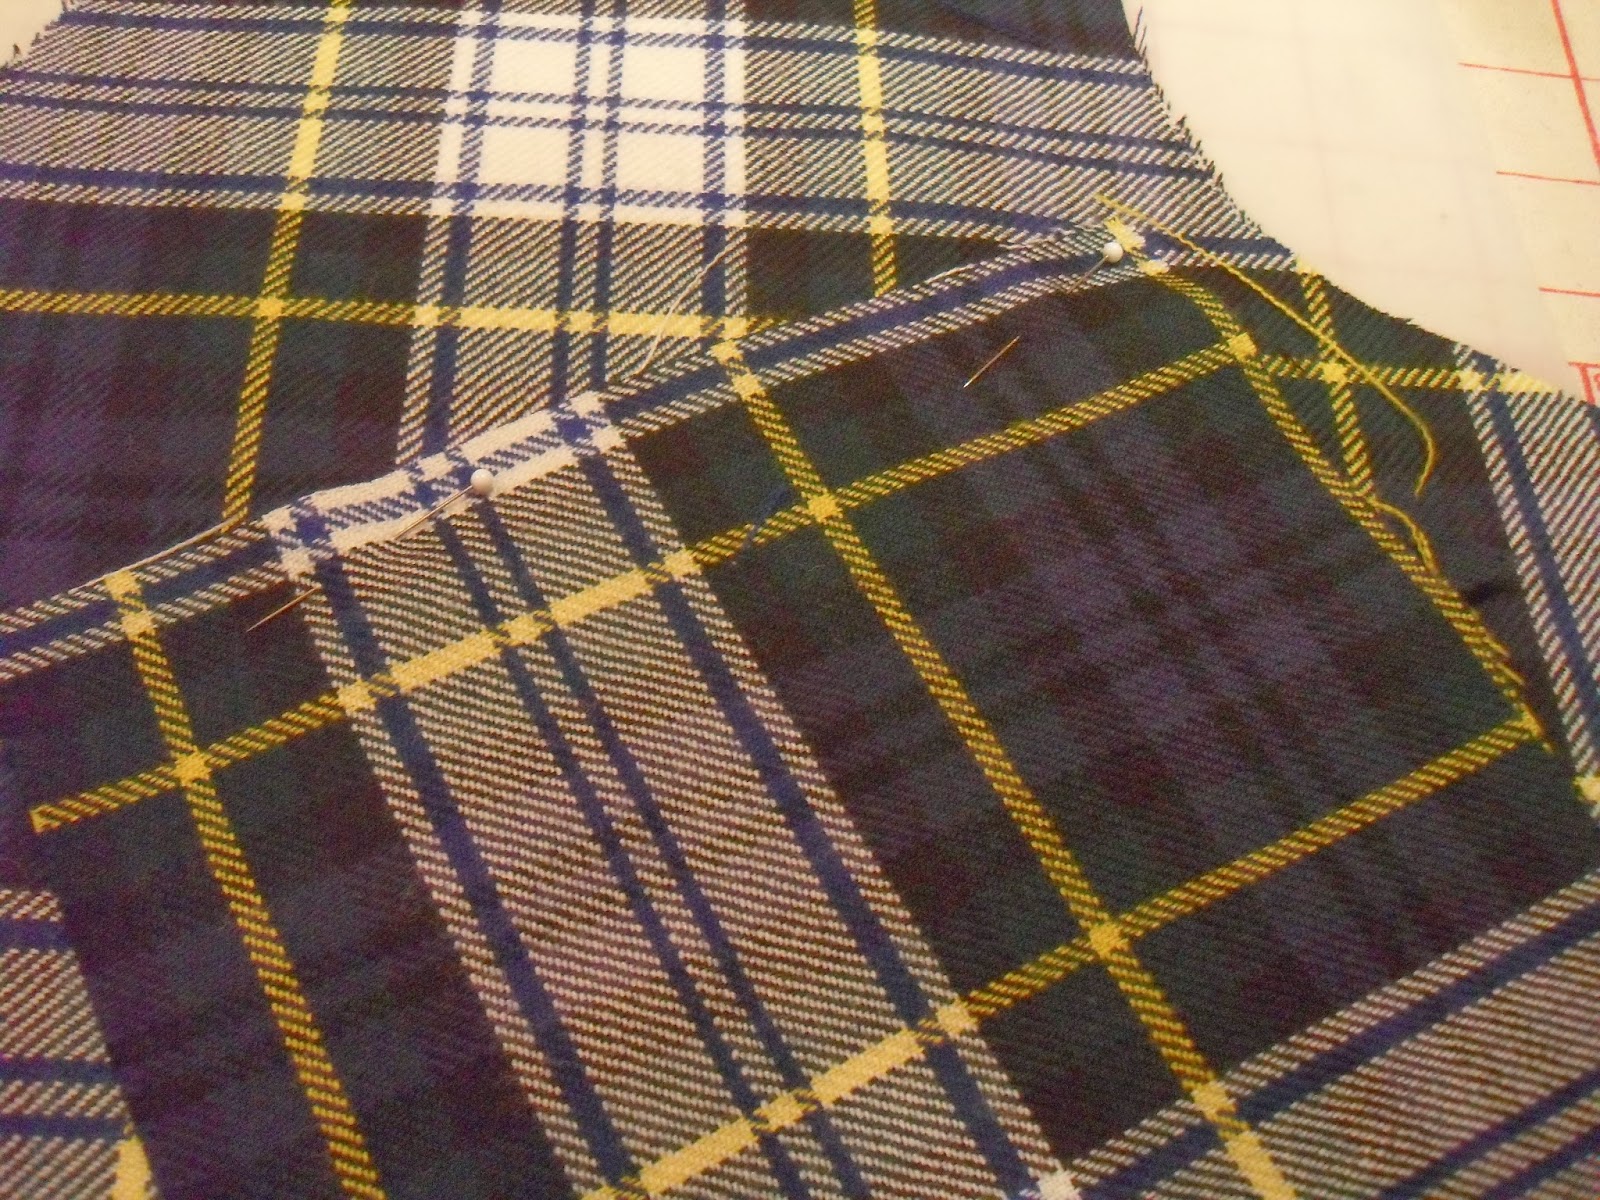
 Pin' em on, the back seam edges butt each other, not overlapping (trying to eliminate as much bulk as possible).


Because the black part doesn't need to stretch that much, it can be less stretchy. It's the top part that does the stretch work. I did a simple 1/16th zig zag stitch for all of it. 


The pattern I have up at Craftsy could be made smaller just by copying the pattern piece at a percentage. A 23 " head to start,  at 95% would be 21.85".  Or just shave off what you don't need (pencil first!)(or just copy it again).

Because the bottom edge does not need to stretch, I've been toying with some trim options. And a sweater that had an ugly felt accident yesterday.

Coincidence?


Friday, December 20, 2013

More tools from the tool shed


Just a quick mention of a fine tool in the shed.

I use this sports bottle to refill my iron's water supply.

If I keep it about half full, I can squirt it into the water opening, and not give my ironing board a bath. I have been remarkably consistent about keeping filtered water in it, and no one wanders off with it. Which is a double win for me.

Wednesday, December 4, 2013

Plaidness


This very long, photo heavy post is about matching plaids. Specifically, welts for pockets on a plaid vest front.

It's pretty swifty, but it's just a lot of plaidness.
Two sewing lines for single welt. Reinforced.

I interfaced the back. Which is good, or I would never have been able to mark these. All four of them.


Match plaid

Stick pin through bottom corner

Make sure plaid matches at bottom corner


Stick pin through from back to front to find other end of seam. Fiddle around to get plaid to match and pin it down in front.


Now, very carefully, fold the top portion down. Pin welty fab onto front. Check repeatedly.


Secured? 

Flip over and sew bottom line

Check?


Reinforce (iron on stabilizer, go!)

Iron and trim to reasonable size


Stitch in middle, sorta middle

Check pocket direction and location

Secure pocket!


Stitch top seam and clip.

When you clip the ends, leave the angled triangly part as long as possible.


Pull the pocket through to back

Clip ends, not too short


Here's the fun part. I grab my long pointy reverse action tweezers and poke them through that gap at the end, between the fabric and the lining. And I pull and work that end of the welt through to the back side


And there it is. Give em a tug to tidy up.

From the front.


Ironing it out, from the back.

Fold it over and press.

Eh, not perfect

Sew up the sides and bottom.

Top stitch the ends (in the ditch)

The more I do, the better they get. Which I suspect means I should have done about ten practice ones before the real ones.

The lining is getting a self lipped welt. Place fabric, pin, sew two lines

Open wide! Snack break!

Pull bottom up to make flapness

Iron flapness!

Flip over, admire!

Didn't place pocket quite right, so I sew the end edges together


I iron them and it looks actually nicer this way.

Top stitch in the ditch

There is a pocket. A nice one from this side.

What is fun about this is that from the wrong side, it's all long threads and a mess.

The collar and facings, well, no one will know what a hot mess that was.


So I have finished and lined fronts, and  I need to sew them to the back lining/s.

 And I'm lazy. 

So, I sewed the backs to the front like a sandwich. Lining, fronts, lining (hold the mayo).
Across the shoulders, around the arm holes 
NOT THE SIDE SEAMS
 (was that loud enough for you?) 

and the bottom seam. Together

Ya pull the fronts out from the side (pick one), sew the side seam (outside), press side seams to front, pin like a picket fence, and stitch the finishing side seam in the ditch.
And it's done.
Okay, it needs buttons and stuff, and that lapel needs a whole lot of pressing and tacking to hold, BUT

It's the slooooowest job in the world, and then the finish is WHOOSH!

My son comments: Quite nice. Much nicer than your usual. Is this a trend?
Level up?