Sunday, August 28, 2016

2016 Refashioners Denim Challenge


Seattle Asian Art Museum Indigo show made me realize I wanted to participate in this year's challenge.
I think denim is over done, but I live on the west coast and there's a lot of it out here.
Boro fabrics have been in my saved searches on Ebay, and between that and the shibori things, the worn details on jeans pop out for me more than they used to.


I don't have enough fabric for a Chanel style fitted jacket, but that's what I'd make if I did. The seams would be featured, and the soft denim would be wonderful to wear. Hell, I could cut the sleeves from kids jeans (okay, maybe bigger than kids....)

The closer fit would deal with the heavy fabric (the denim coat I owned was stifling to wear)

Things I don't want to make
A straight 'jeans top' tote bag. 
No unraveling fringy stuff.
(it creeps me out)


I could collage the elements
I've made some notes.
I'll have it done this week.

Thursday, August 25, 2016

Ebony fashion fair:"Inspiring beauty" touring exhibit


Eunice Johnson, photo from the exhibit online materials

Bellevue Arts Museum has hosted a number of great clothing exhibitions over the years. The Ebony Fashion Fair show: Inspring Beauty could have been great.

 This is, first and foremost, a show that tells over and over again  how wonderful Eunice Johnson was. Second, the Johnson family is a great family. Third, here are mostly white designer outfits. 

The focus is off.

 Okay, there are some really great pieces here.
Photography was not allowed, so these photos are from the exhibits' online materials.


Patrick Kelly, "I love fashion", 

Tillman Grawe, cocktail dress, 2003, from the exhibit online materials. This dress has ideas I'm borrowing for costumes. It's all made of fabric bias tubing (woven as well as stuffed with plastic tubes). Beads sewn on the ends for balance and bounce.
The heart of this exhibit are the films and photos of the shows themselves. Pat Cleveland needs to be better known. You already have seen her a million times, you may have seen her in Versailles 73 but we need a proper tribute/biography/catwalk of fame for her.  There is some runway footage, and homage is paid to the emcee of the the shows Audrey Smaltz. 

The other thing I cannot show you is the presentation of these clothes. The mannequins aren't the headless things you see in these photos (from the book for the show); they have faces and are posed in the upfront and out infront manner of the models from the original runway poses. They are in your face. They are specific. They kick ass.

But here's a video that will show you all that. 


And THAT's what this show should have been. The exhibit does reference what a community event these shows were, and there is some footage of the them (I went to a couple as a kid -HOLY MOLEY they were amazing). But the end result of this is a little too tastefully austere for my thinking.

Those mannequins though....

Kara Walker, "African/American"  1998, from the exhibit online materials
 In addition, there was a full floor of very very tough work by Kara Walker, whose cut silhouette style is used to devastating effect. This is not a show for children. This is a show for adults with brains and hearts that need breaking. There are two big series of works, a set of related lithographs and a film Walker did using shadow puppetry. All dealing with the role of slavery in our history and the related horrors. Anything else I add is going to feel trite. She's an artist with powerful storytelling abilities, and rigorous technique.


Bren Ahearn, Sampler 5, 2009, from the exhibit online materials
To end on a lighter note, we've got giant samplers stitched by a man. They were witty and well done and didn't really fit the theme.


And most of the exhibits were off the walls and marked with ropes. The white papers mark the big holes that need fillling. Frankly, as an ex-gallery unpaid employee, I enjoyed this thoroughly.


Wednesday, August 10, 2016

The Refashioners 2016 - Jeanius Edition

This was made last March 2016.

The jeans finally bit it in January

You may remember the tutorial on mending/relining a jeans pocket that it was featured in 2013. Oh, no? Well, there's the link.
And these are those jeans.

What better way to remember an old friend than with a hat?

The ErnieKap is a pattern I've been working on (and reworking) for a year.  It's a sized brim hat, and  I would be satisfied with it if  I spent more time on it.
It just needs a little fine tuning in the print department.

But for this purpose, it's a pattern. I have it here. I have enough fabric in these jeans to make one.
I carved out the logo to put on the front.


As per the pattern, you reuse elastic to snug up the hatband (and keep it from flying off)

And I used the pocket as the crown!


And he lost it last month.

So I guess I am going to make a better one this month.

Revisions I'd do: use the seams on the side bands. The seam across the brim was a better idea than a detail (makes the front edge look lumpy in this last photo).

Because aren't they the key design detail we associate with jeans?

Sunday, August 7, 2016

Six Napoleon - Epilogue


Stick a fork in me, I'm done.


McCall's 6396 would be easier and give you an everyday item, not just a formal item.


This is what this dress reminds me of. Love that Little Pony version on the right, btw.


So this pinned version is where I left off.

 I steamed the skirt like a sauna, but those folds just came right back.


After a day of thinking and rethinking, I stitched down the draped skirt to the short base skirt.

Double stitched at the big triangular drop


Yanked the bondsuit top over it and pinned it down.
I had to add fabric at the sides to expand the top to cover the skirt. The crotch extensions for the  bodysuit were barely enough.

I did not have to carve off the sleeves to fill the side gaps.


This is overexposed, but you can see the pleats in this.


The front  and the back are the same, with four basic pleats

Okay, this is not a great diagram but you get the idea. The big [2] pleat  combines with the [3] to its right side. There's a LOT of fabric in that center.  I tried moving the volume out to the sides, and it just didn't give the same shape as the original.

The top of the big central pleat is covered a little; I had to pull it up otherwise the hem dragged on the floor.

At this point, to finish, I would stitch the top to the skirt and remove the parts of the  underskirt that aren't sewn to the overskirt and the top.

Now, you're asking yourself: is she going to finish this?
And I don't think so. 

I don't need this dress. The folks who were initially interested in a final version have changed their minds. I would have to build a new bodice and I don't know to what end that would be.

So I'm going to pull the bodice off, and save the skirt. It may yet find a job. But right now, it's just a noble lab sample.

Did I learn a lot? Yes. Was it fun? Yeah. 
And now it's time to stop.

Because it's almost time to show off
THE BURLESQUE COSTUMES!!!!!!!
Yep. Rhinestones next week.

Monday, August 1, 2016

Six Napoleons Actual Draping With ... Drapery (tags included)


The thrifted original materials. A stretch bodysuit and two poly organza curtain liners. About $18 all told. Thank you Value Village.


So, now it's time to actually do some draping.

Need something to stitch this skirt to.
Used my jeans pattern to make a fitted half skirt base (zipper on right side seam)

Cut some thin painter's tape strips

Ya think? Nah.

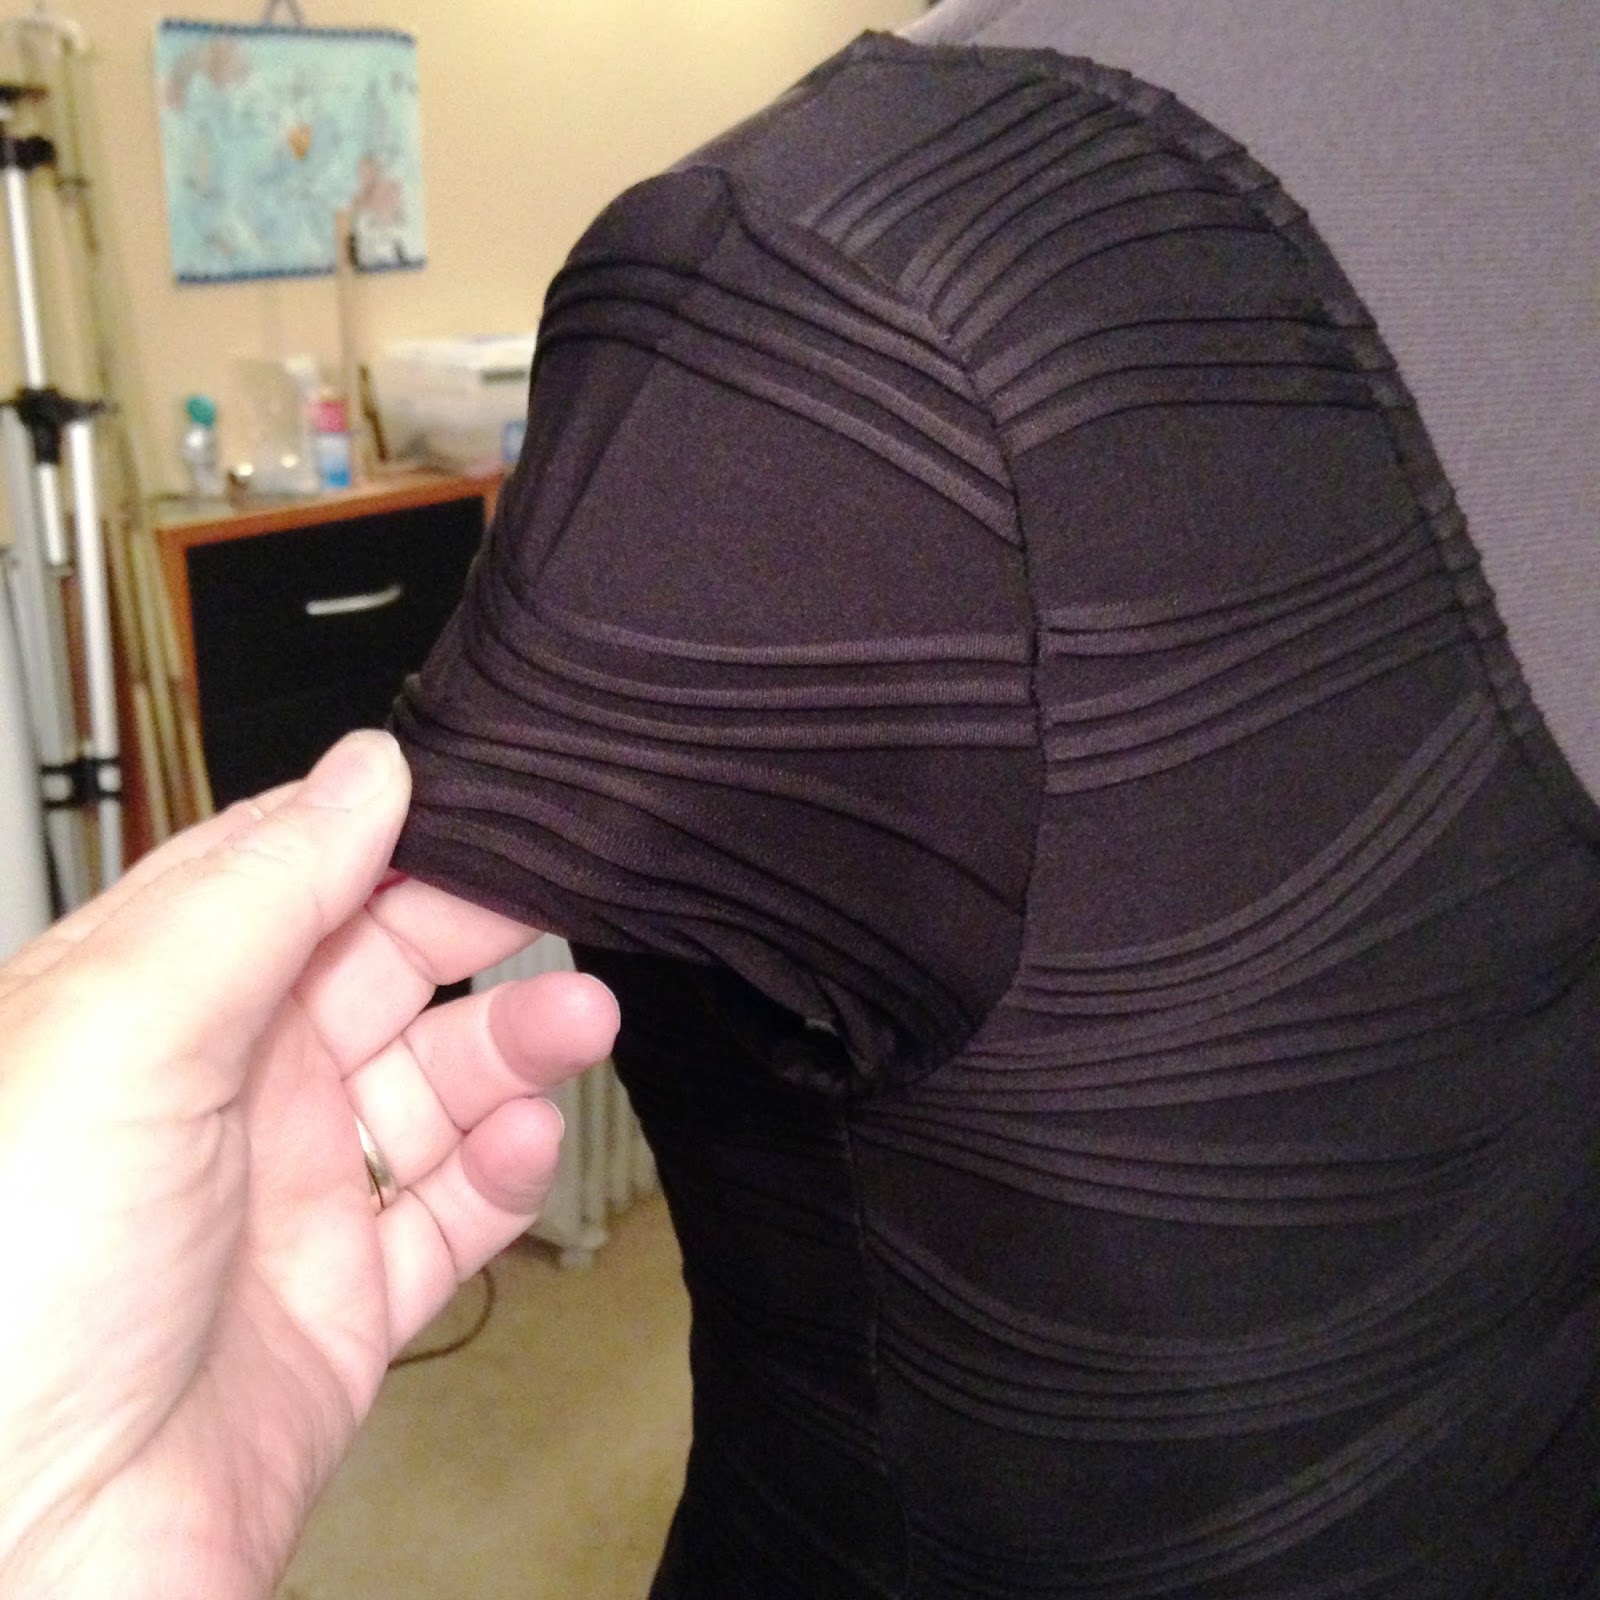
I don't want to block a lot of zipper. I will want to get this off and on. Because of this issue, my angles are not as acute as Marianne's


Eh, okay

NO, I still can't unzip a dress or anything on my right, so zip's on my left. 
Yes, that does mess up the angle of the skirt. And I do think it loses some of its charm.

Sigh. Moving on....

It will be the same angle on the front as the back. Did a pin mark and flipped it.

 Flair pen!

So I noticed something about this skirt. It's a double layer all around, and given that, it's about the same length except for that dip in the front.

I am draping for the hem, not the v-shape. The v-shape of the bodice is going to get stitched over this piece anyway.

I honestly was going to measure out what i needed, but I had itchy fingers.

Starting at the side seam was too obvious for me. Gotta hide the join between two pieces of sheer fabric in a fold. That big off center one.

Start at this end. 
No

Start at this end. Huh.


Huh. This isn't...working.

And then it hit me.

And this was the brainstorm. The fabric is draped doubled up. If I slice the corner piece and unfold a square of it, leaving the rest folded, I have a seamless godet in the middle, a double layer on the right side, and an underlayer on the left side.  


So the single layer square goes on FIRST. I repeat this on the other side, single layer first.

See the tag? 
 And then I pinned the double end off to the right, over the single layer
Repeated for second piece.

And I pleated and repleated and on and on and I had to stop and go be a mom. It was all of Sunday.
I will finish it up in a day, but I think I'm on the right track. Steamed out a little, it's better than this now. Given a little more hang time, even better.

Not as soft as the original, but it's not silk either. It won't hang the same, I'm not stupid. But that's not the point. 

I am the cheapest toiler I know. And that is the point.