 |
| This is the result of this project. It's another - here's how I did this, so I don't forget later. It's kinda long. I should put chapter headings on the sections. |
This is not the first pair of Frida pants from this fabric. But those got worn to shreds.
Thus, when this print came up on my Fabric.com ad roll, I hadda jump.
The yardage wasn't quite enough to make the jeans I wanted to make.
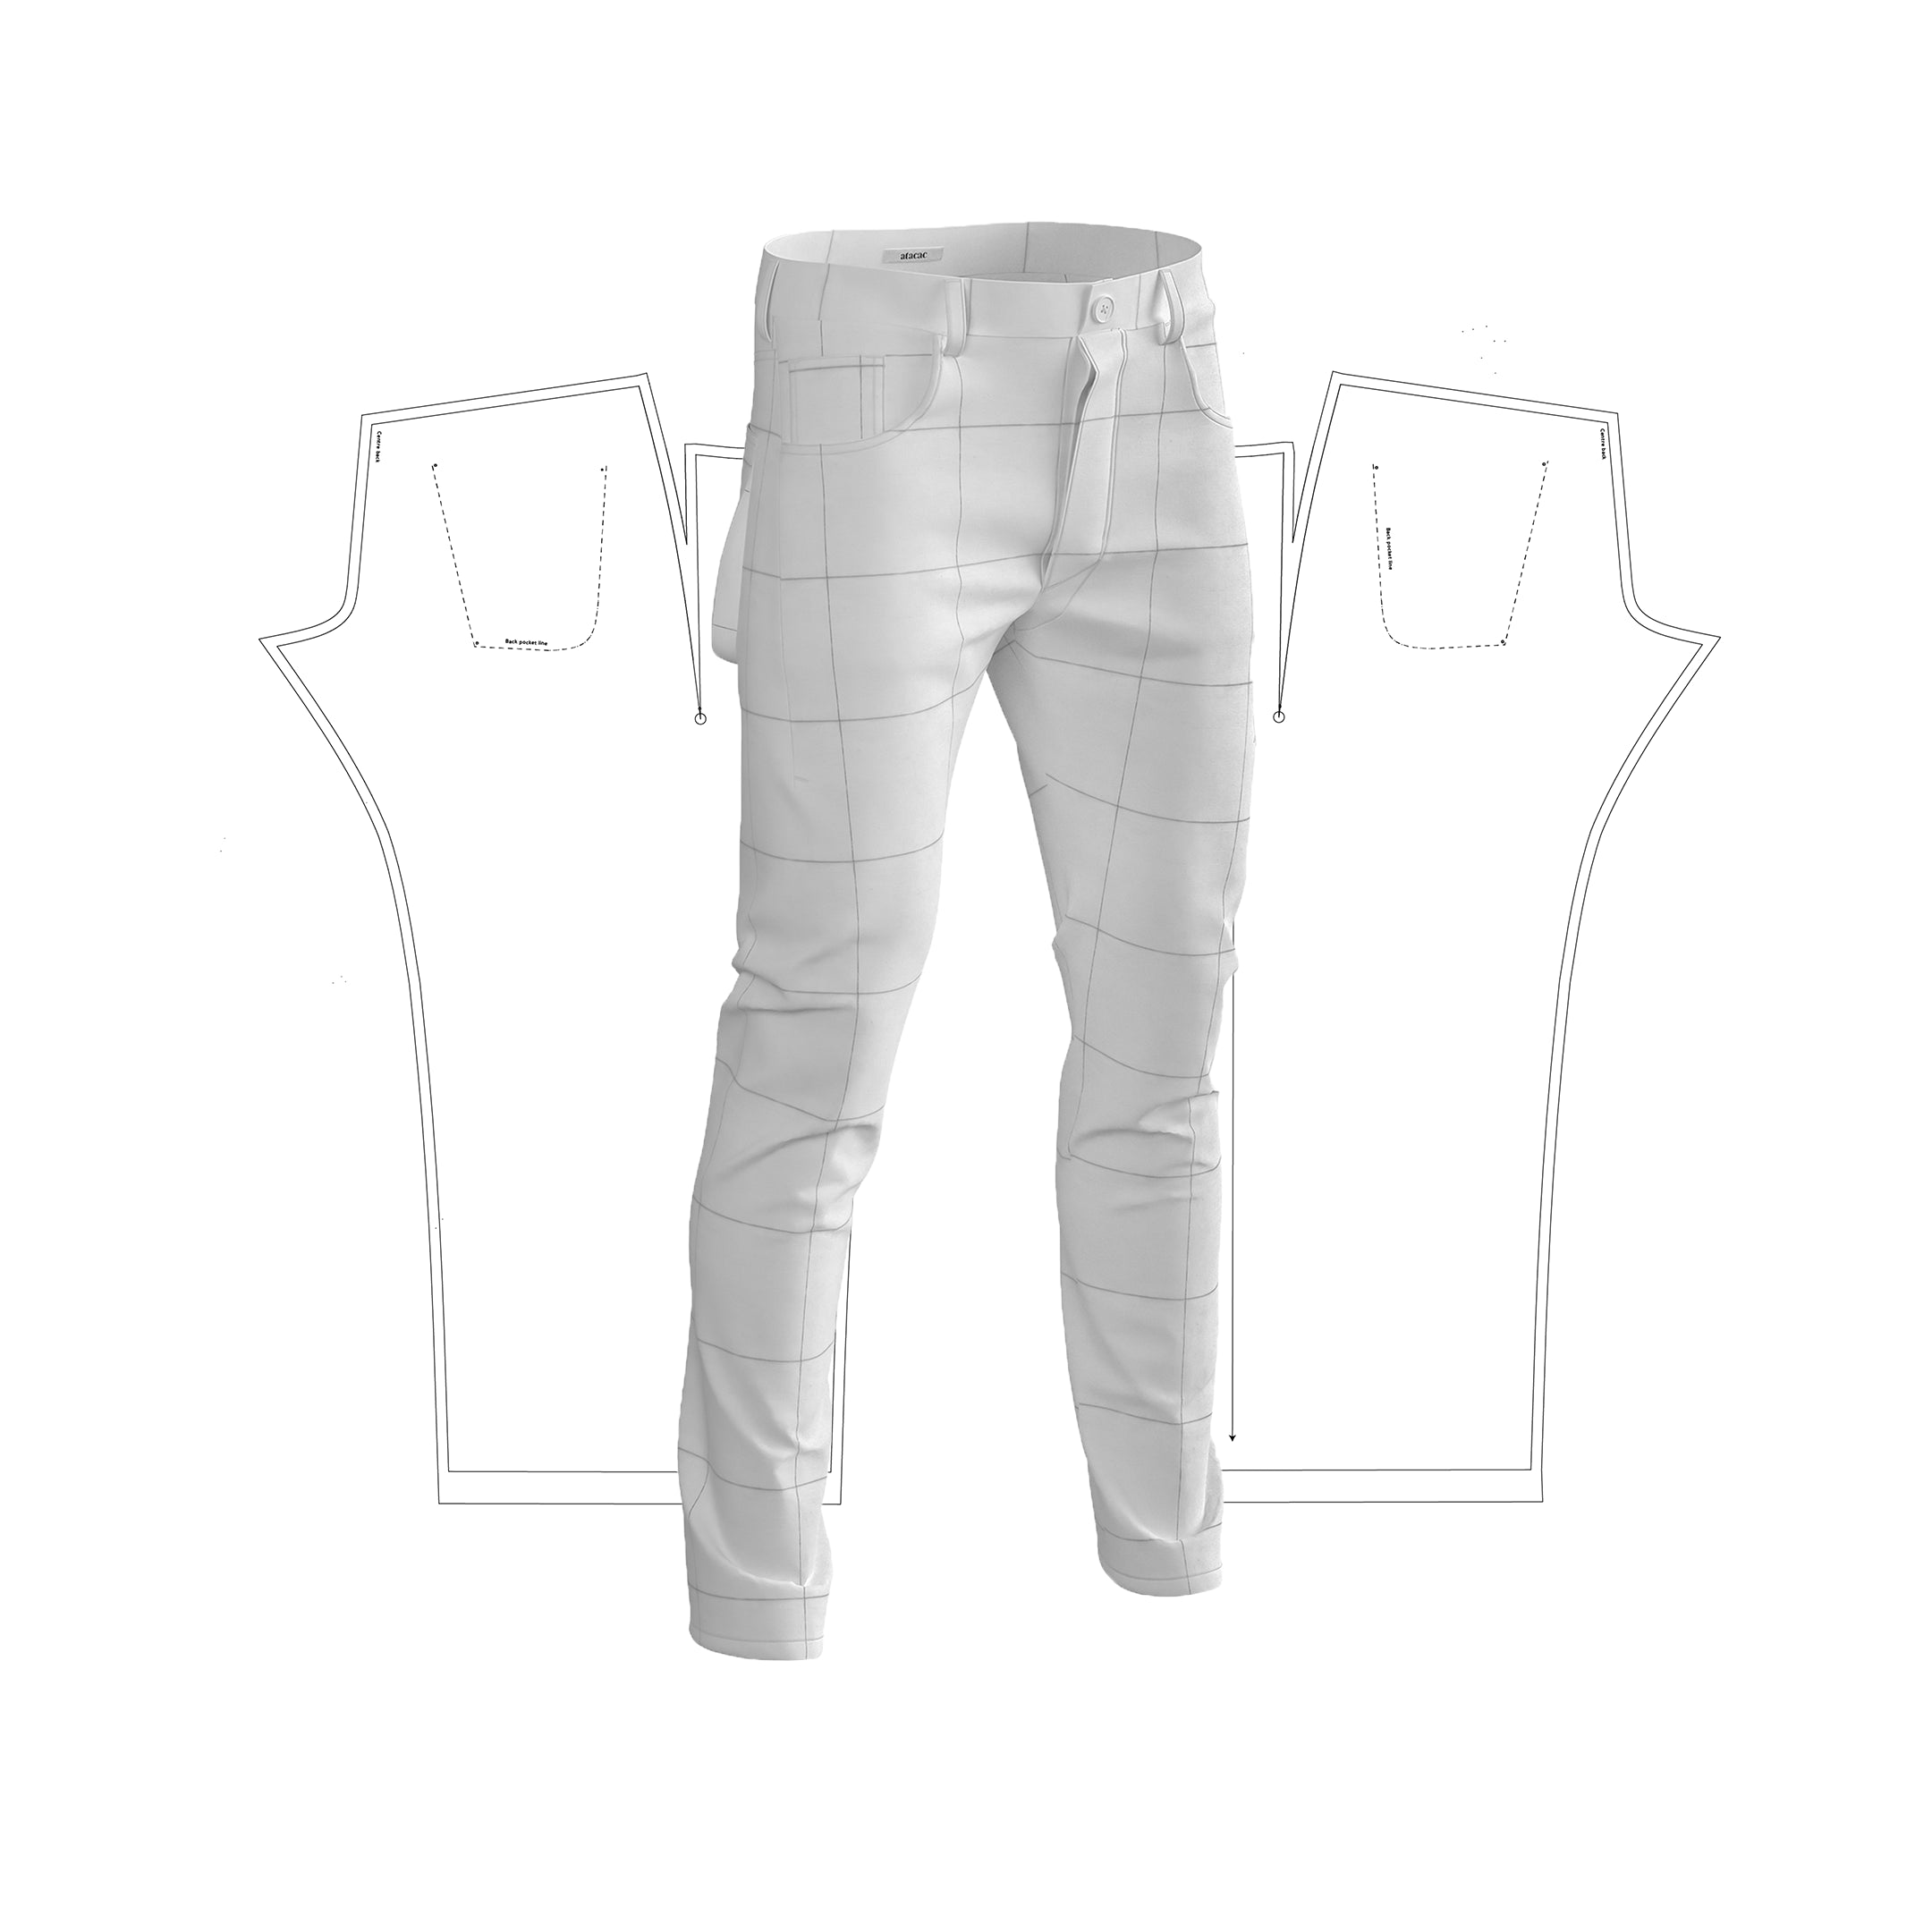
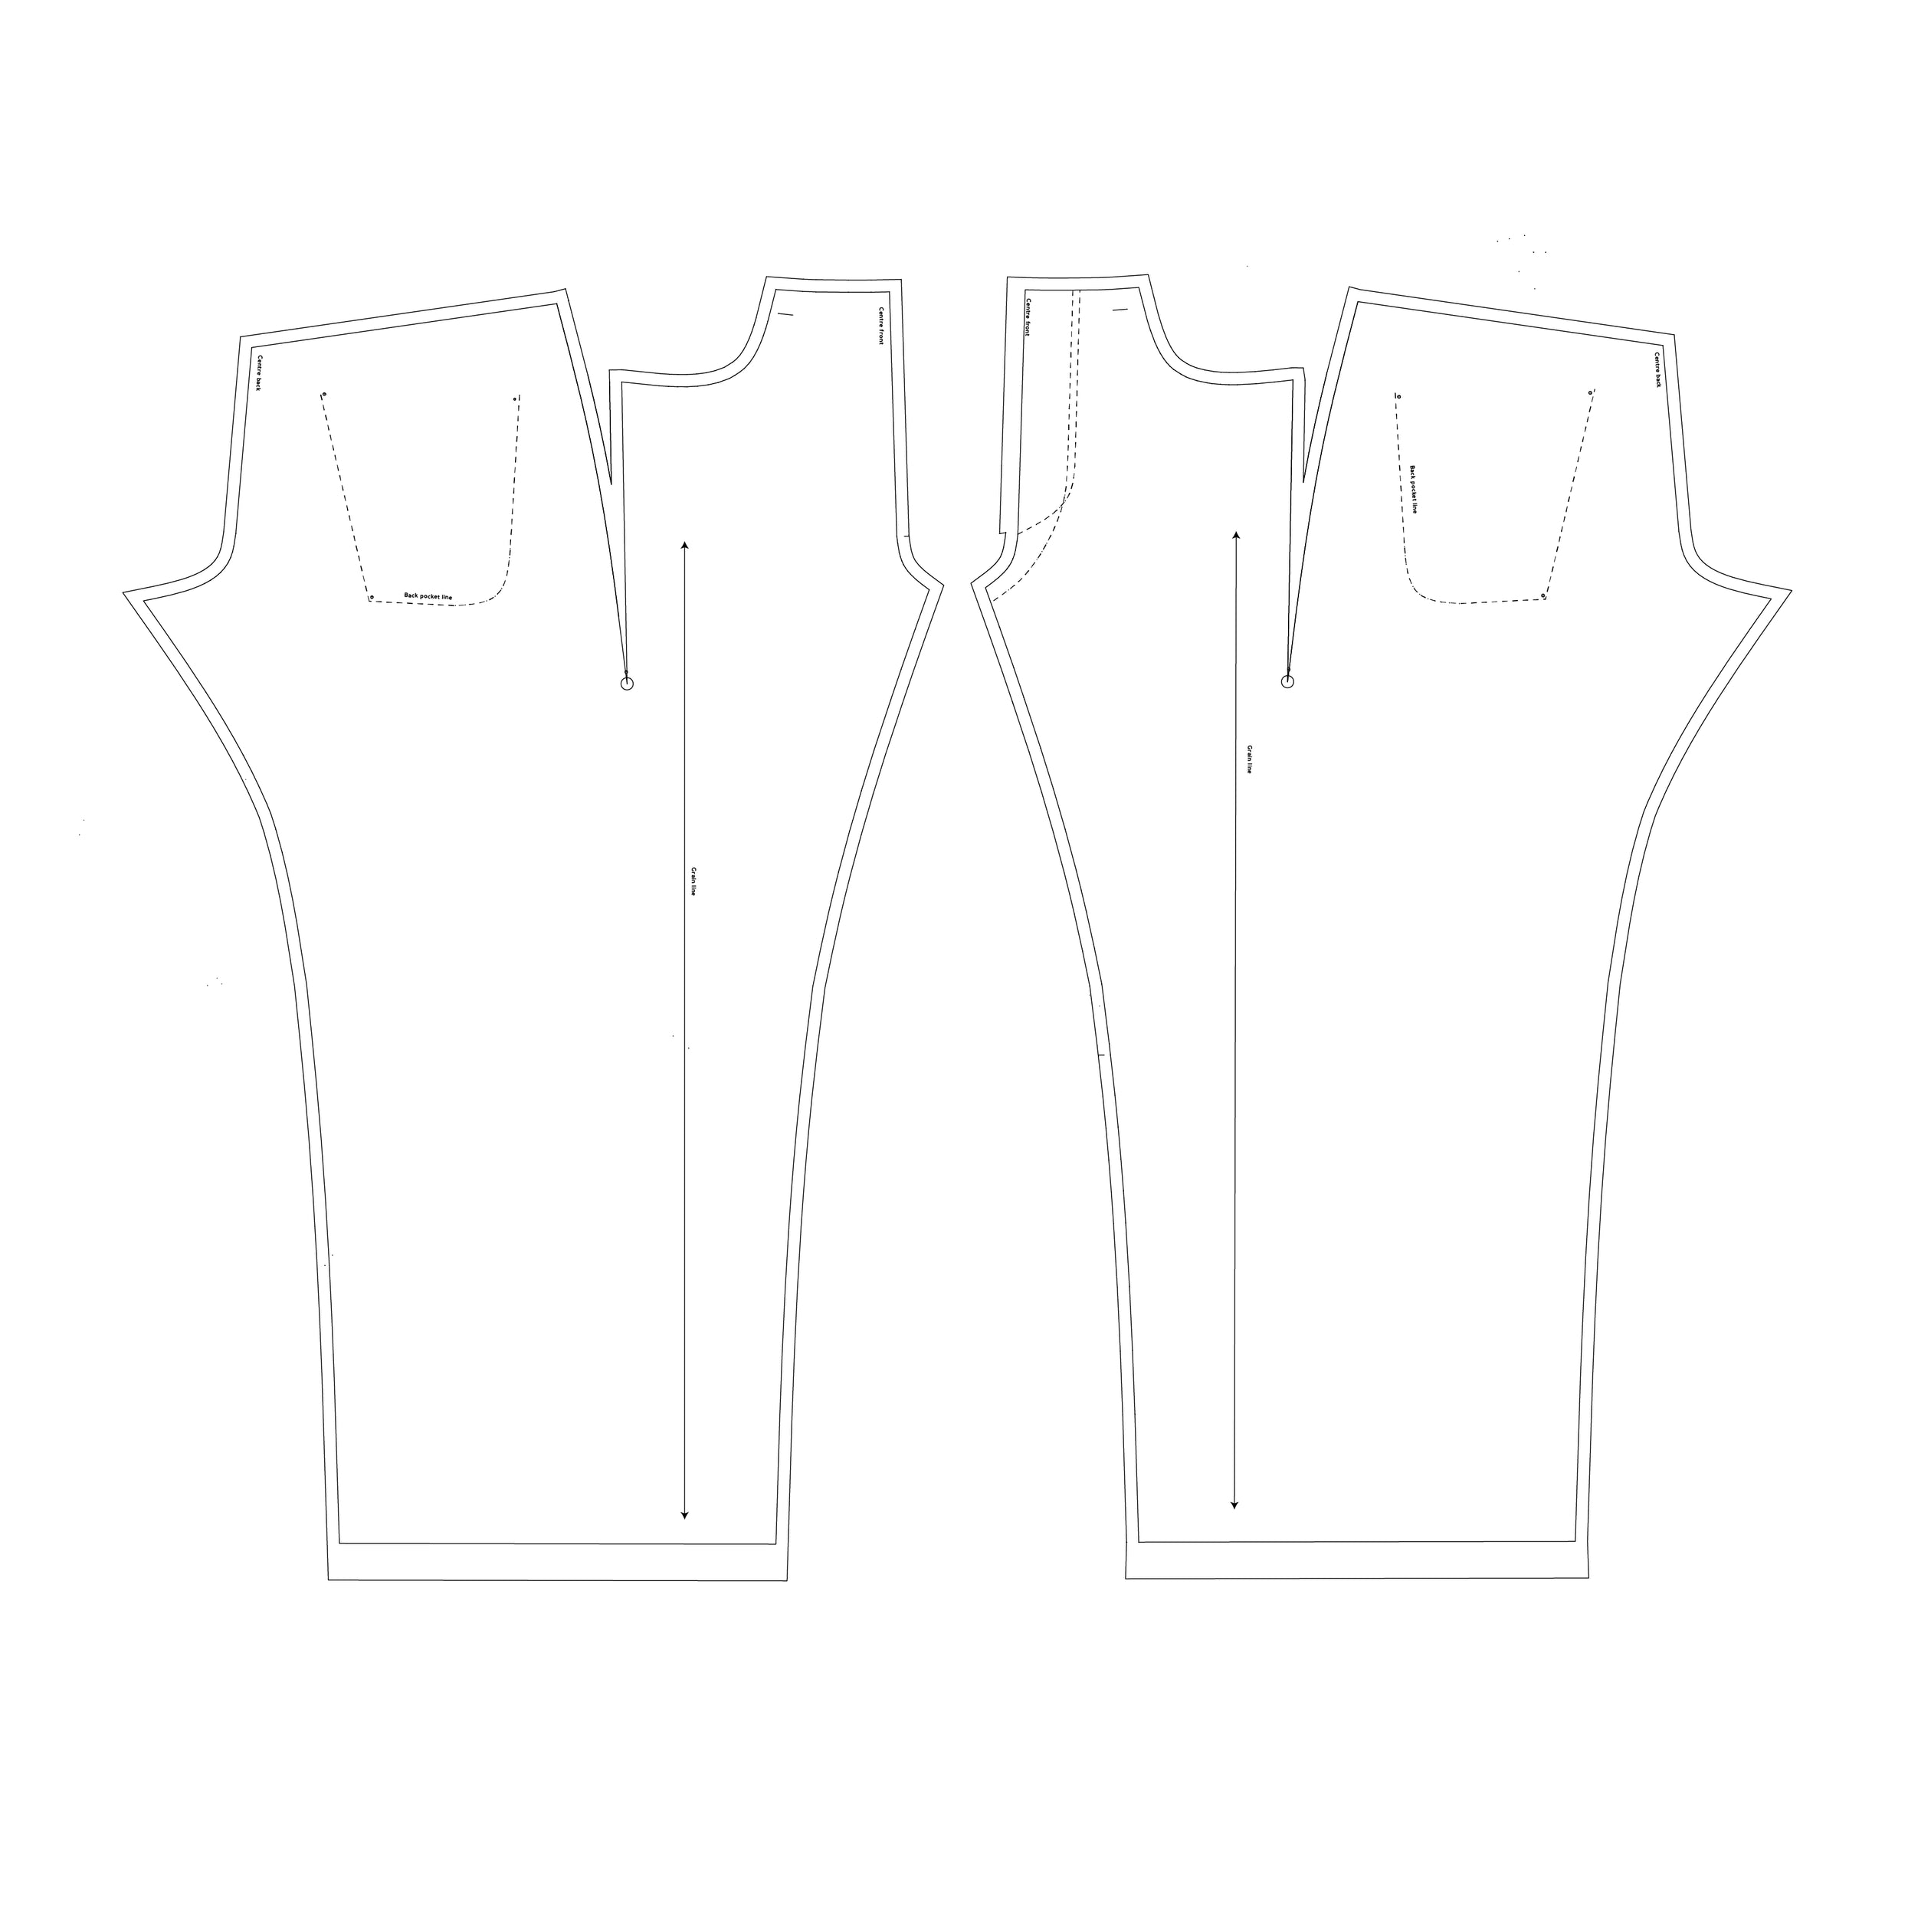
So I used the one piece jeans pattern I kludged up.
It really almost is one piece. (waistband and pocket bits separate)
Frida will not always be in one piece here, and for that I am deeply sorry.
She deserves better.
 |
That's the stuff. I've bought.... a lot of it over the years.
|
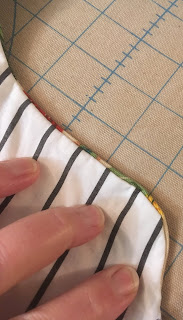
Had to piece the waistband (curved, natch!)
The theme here is: this fabric is so busy, it's hard to see the mismatches.
Until it's all I can see. Ow.
And had to piece it to get the length. I mean, I'm short, but a directional print like this eats up scarce fabric. I had to add length at the bottom of the legs. THAT's how little fabric I had: this pattern needs 2.5 yards. I had 2.
Constructing these pants follows traditional jeans instructions.
First, the pocket bag is sewn to the 'front'
Trimmed and flipped to the inside
Rolled a little over to favor the outside over the inside. I've done it the other way to create an edge on the outside, like fake piping.
So, you were wondering about the side seam. Here's where the pocket bag stops - that 'side seam/dart'.
Top stitching
The pocket lining/facing gets it's corner of main fabric.
Okay, you see where the pins are holding the pocket bag parts together? We'll stitch along that and up to the waist
Sewing over pins again.....
And I will serge those raw interior edges AFTER I've sewn them together.
Now I can sew up that side seam/dart
And top stitch it.
It ends up as a dart. And there's a little dart to the right of it, over my high hip. Cause I have a BUTT and a little shelf right there
A damn busy print.
Oh Frida, I am so sorry you ended up on the fly.
It's pretty straightforward from here.
Note how there's no photos of the fly.
Other people have better ideas on that topic than I.
I do have to sew down the outside of the pocket bags to the 'side seam'
I hate having all those seam allowances where I'm trying to install a button hole.
 |
| One previous example of the folded over waistband. |
So I extend the waistband past the center line and fold it to the inside at the fly edge.
The waistband facing gets ironed over the raw end to make less lumpiness as well (rather than folding over the raw edge of the heavier outside fabric).
I do a fake welt with woven fusible. Stitch around where the hole is going to be
Trim and turn
See? Prettier already.
Pulled through
Hand picked edges still not perfect, but it's a goal.
And THEN I iron it. It sorta glues the stitching, the hole, and the back altogether.
I have considered adding a bit of webby fusible for more glue.
THEN I mark for the rivet button with the awl through the finished buttonhole.
Frida, I am so sorry .
Use a piece of scrap wood to do this on, for that very visible hole reason.
I've been using a dowel to hit the back of the rivet button. I can hold it better and be less likely to smash off center, or smash my finger.
Now we're going to need to finish the interior waistband
I made bias trim from the leftovers from the same fabric in a quilting weight (leftover from the shirt) for the raw edge of the waistband facing.
It doesn't match up, but you are only going to see a little of it.
Folded over and stitched in the ditch. This facing will get stitched to the bottom of the waistband on the outside when all is done.
The last bit is the most boring: stitching the back center seam, and then stitching the legs to themselves - up and over.
My goal is to do a menswear back seam: up the back and through the waistband and facing all in one, so when I have to alter these, I have topstitching and the back seam to unpick and redo.
 |
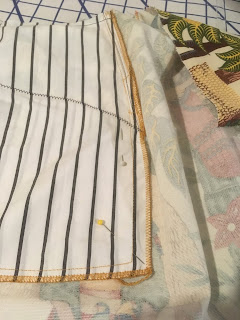
The seam allowances should be facing up, so they get stowed away in the waistband. Like in the photo below.
 |
These pants were a fail, but the photos aren't too bad, This one certainly.
The lesson from those: It does not pay to use a fusible woven to stabilize barkcloth and expect the results to have any flexiblity. At all. |
|
THEN I can stitch the waistband down, sew the leg seams and hem them.
Which goes lickety split.
I like that jeans are very detailed in the beginning (the fly, the pockets) and get less detailed and faster as you get to the end.
Kind of like my attention span on this post.


