
Winter sucks.

I know, Canadians, laugh at me. This is Seattle. We have hills all over and this happens once every five years. We forget. We lose our shovels and tire chains.
But a week of no melt, of more snow, of ice all over everywhere, we grind to a halt.
So please, stop it.
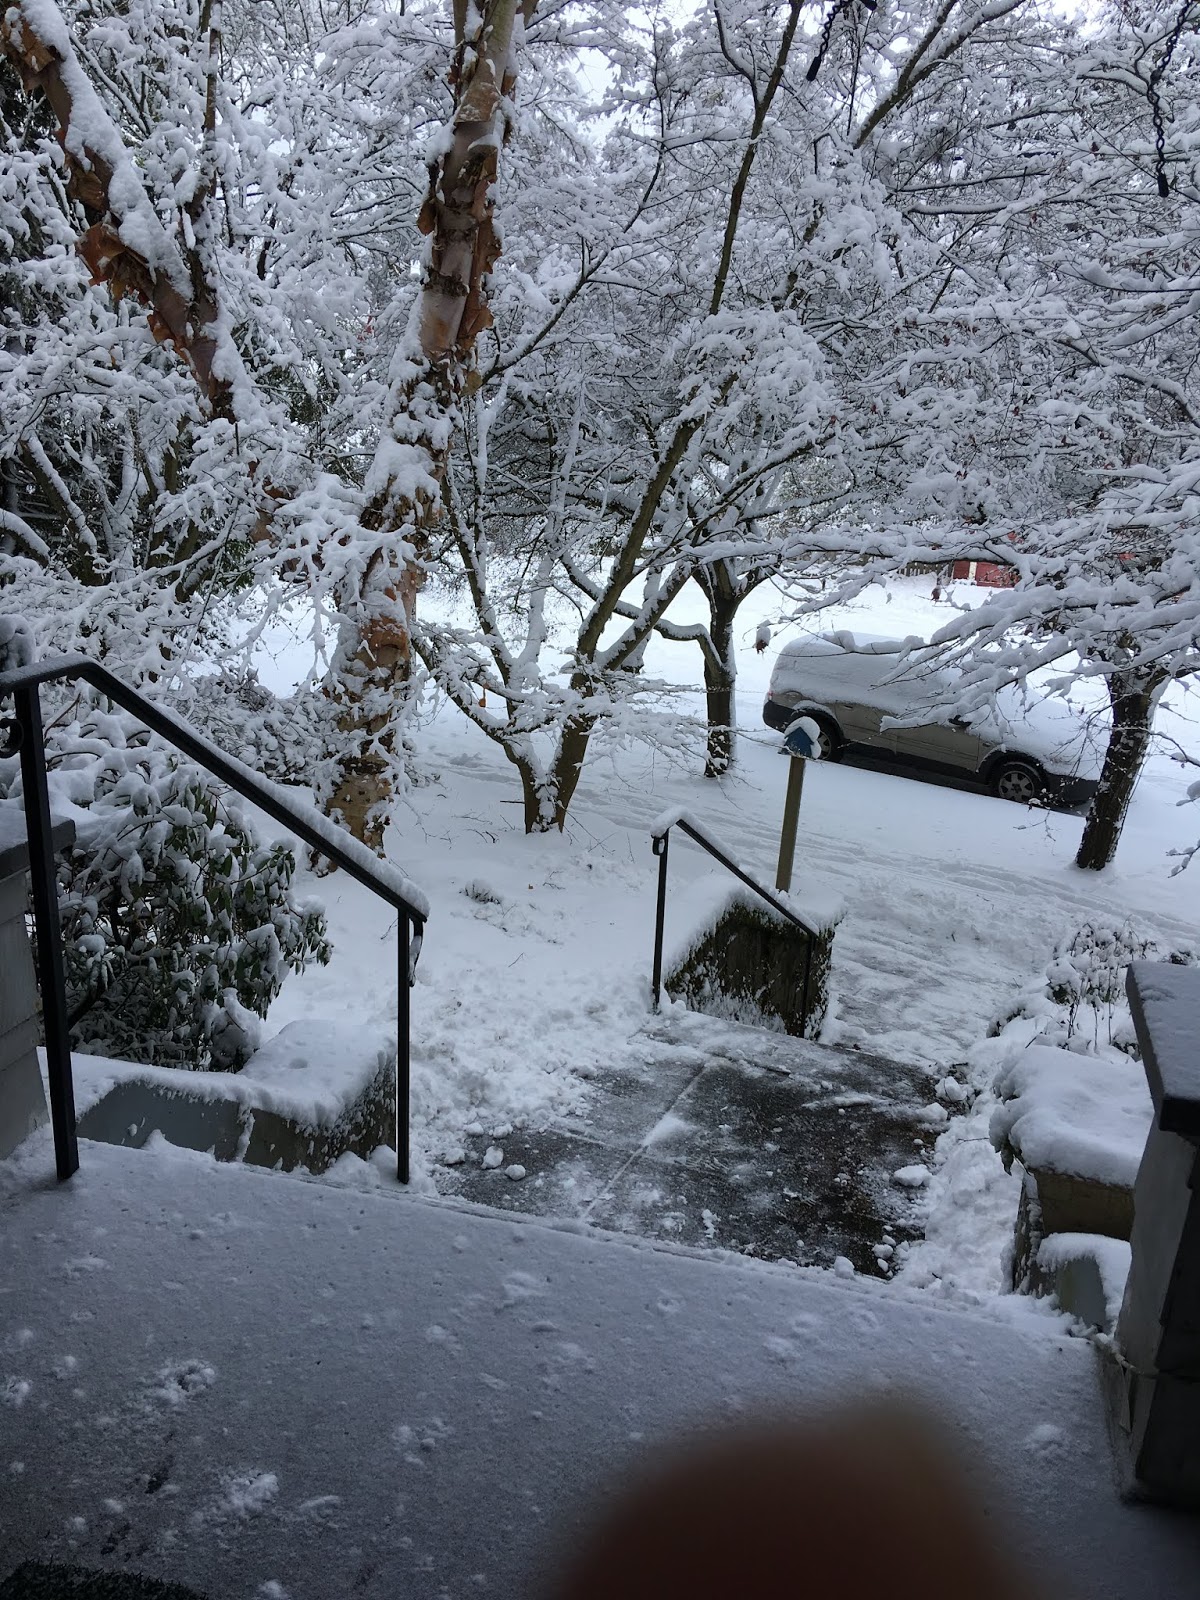 |
| Eventually there were ten inches of snow. Right now there's eight inches of slush. |
My neighbors took pity on me one day and shoveled my stairs.
I am very tired of snow.
The only way I know to make the weather change is to make winter clothes.
Mittens.
That'll make it warm up.
As usual, Ikat Bag has made them and done a far better job than I could ever. That said, I have different materials and different results.
http://www.ikatbag.com/2010/10/mittens-and-theyre-theoretically.html
Here is my version.

This is the basic idea.

A u shape, with a plain back and a thumb cut out front.
Plus a thumb gusset (I can put one in everywhere)

You sew the thumb gusset on and sew the one piece back on.

This is the pattern (see that grid? This is with a 1/4" inch seam allowance)
That's the basic idea.
Cut four. Cut thumb cut out on two of them.
It took me a few variations on this mitten idea to get a pair that worked.
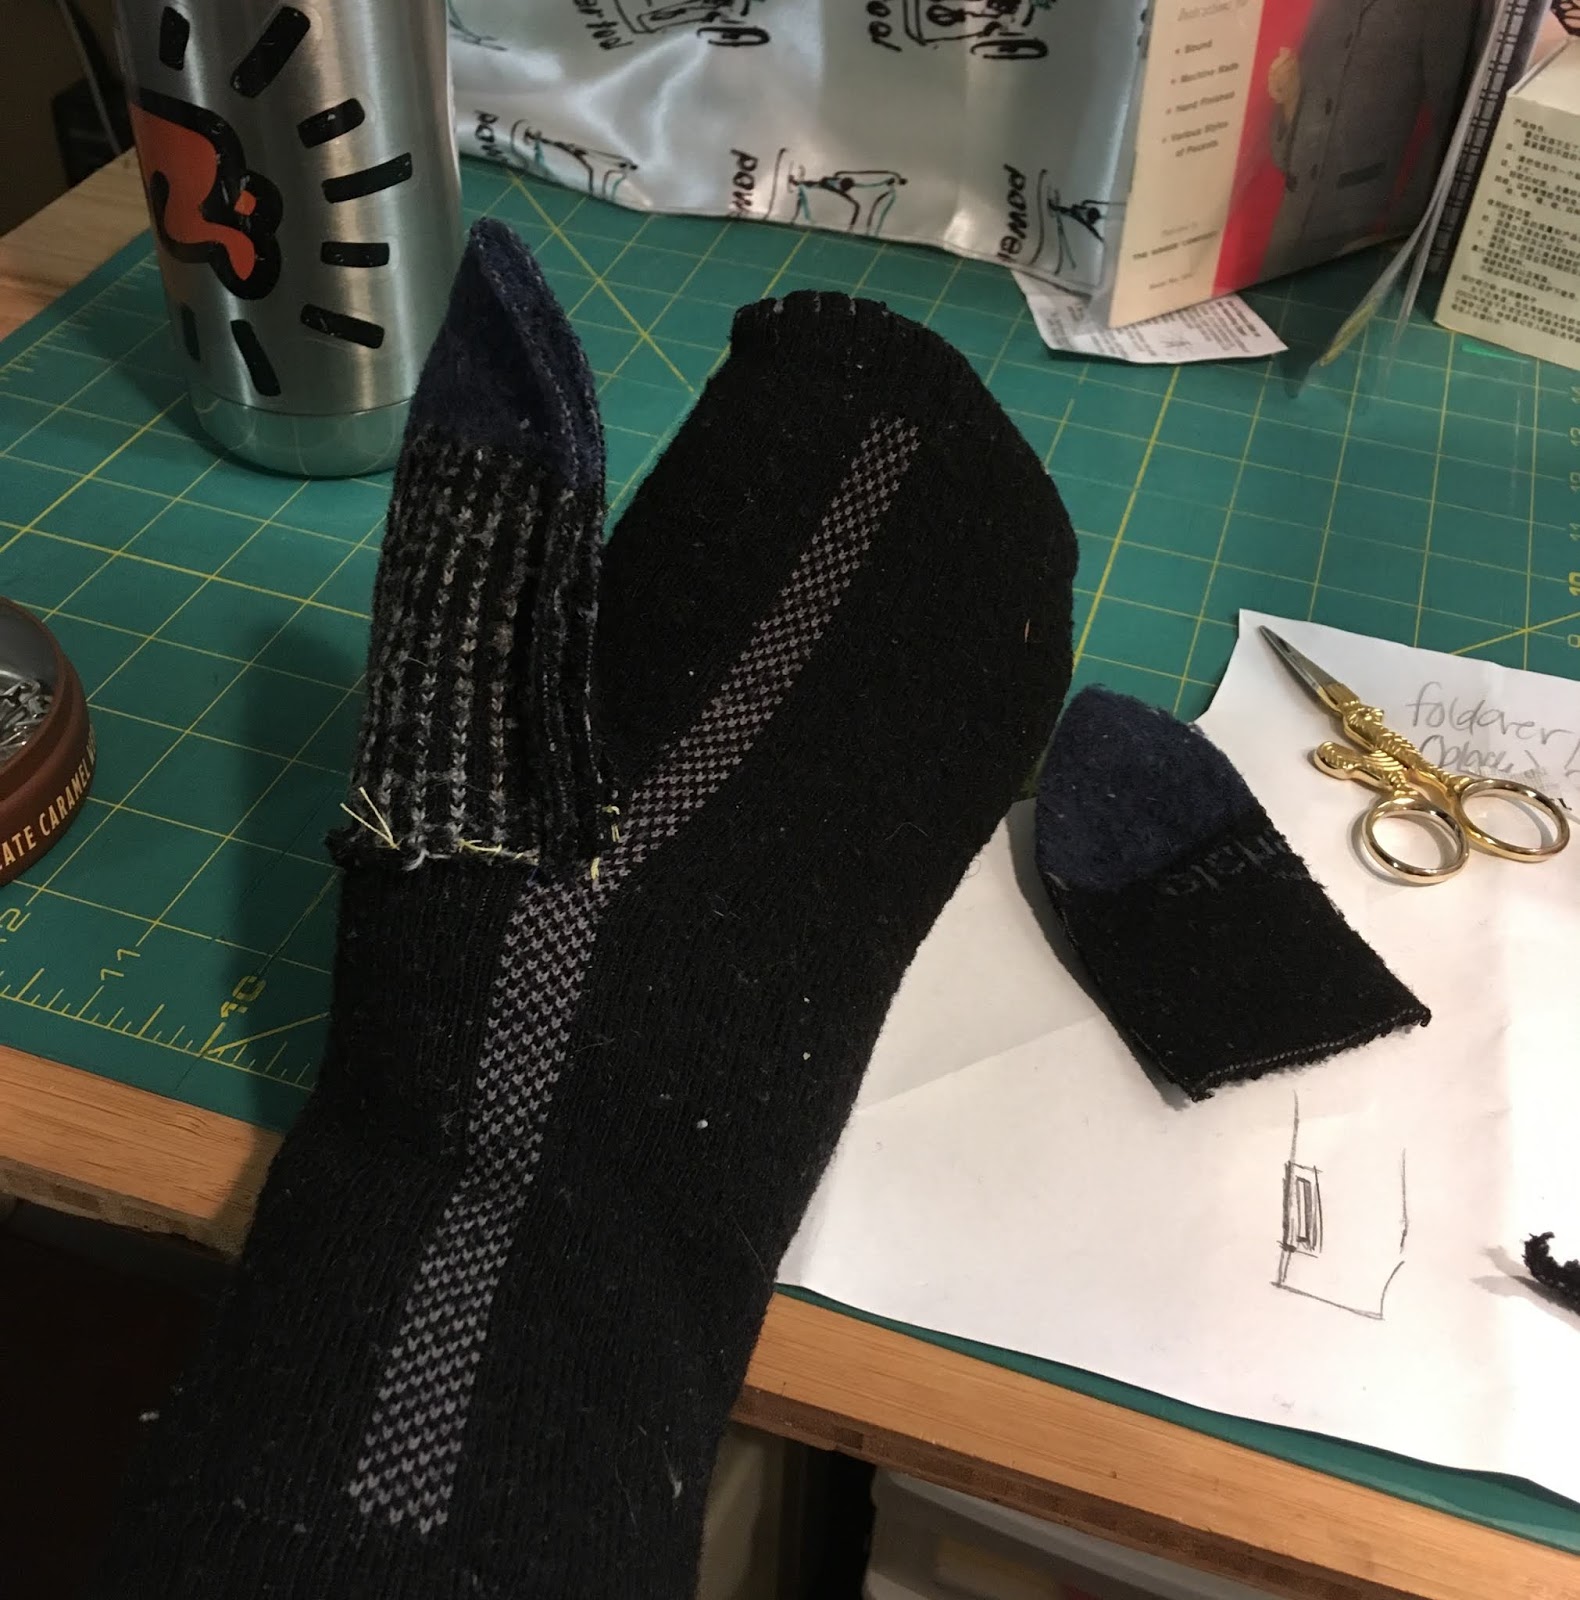
This is the classic quick and dirty spare sock version. You cut out the heel for the thumb opening, you slice off the toe to make the thumb. Stitch it together and boom.
But I have a lot of scrap outerwear fabric and I wanted something more long term and functional.
So I have an outer layer in waterproof backed fleece. It was too heavy for a coat, but perfect for this.

The outside thumb assembly in the orange, partly sewn.

And what it looks on the inside (thumb sewn)
You add the yellow fleecy inside layer. I cut mine two inches longer than the outside to make a cuff.

with a thumb opening slit. Just a slit.
Lining the thumb with the yellow fleece was too much with the orange layer being as thick as it was.
What do we say, your results will vary? They will. Play around with it. Make a model thumb. I did.
And you stick those slit edges down with double-sided fabric tape. ResQ tape works very well, for one example.
You could stitch it. I did not.

It's all stuck down. Remember, this is the inside of the mitten. The thumb is going through that slit into the sewn thumb of the outside orange fabric.

And then I sandwiched all the layers together. I'll be turning it inside out once I've stitched around.
You have to make sure not to sew the thumb into the side seam.
I pinked it on the top edge to make it less lumpy when I turned it.

That's what they look like.

I handstitched the cuffs. It was faster than wrestling them under the presser foot. I could have added elastic inside the cuff, but they work for me without that.
I have a seam ripper. I can always change my mind.
And yes, I should have flipped the cuff seam that last inch, so it doesn't' show.
But you know me. When I see the finish line, I speed up.

Look. Mitten. Two mitten.
This is where I remind you to mirror the outside pieces if they are a coated fabric. Otherwise, you'd have two left or two right hand mittens.
You could make a friend and shake hands.
Uh huh.

I'll be honest. I didn't ask Mr Mitten for permission to post his face here.
But he was wearing the sweater and scarf, I HADDA.
I mean, Matchy! I finished the mittens and he came home from a trip, wearing this ensemble.
What are the odds?
So now I am expecting it to never snow again this season.
I've done my part.

Oh man. Bpffffffff.
Hey, 2021 Me wants you to know that Ikat Bag has a superlative mitten pattern
right on her blog
http://www.ikatbag.com/2021/01/mittens-for-grownups.html
The download link works and everything!
For the record, it did warm up so I didn't need the mittens more than one day. So this trick worked. This time.
ReplyDeleteNext time????